 airbrakecompressor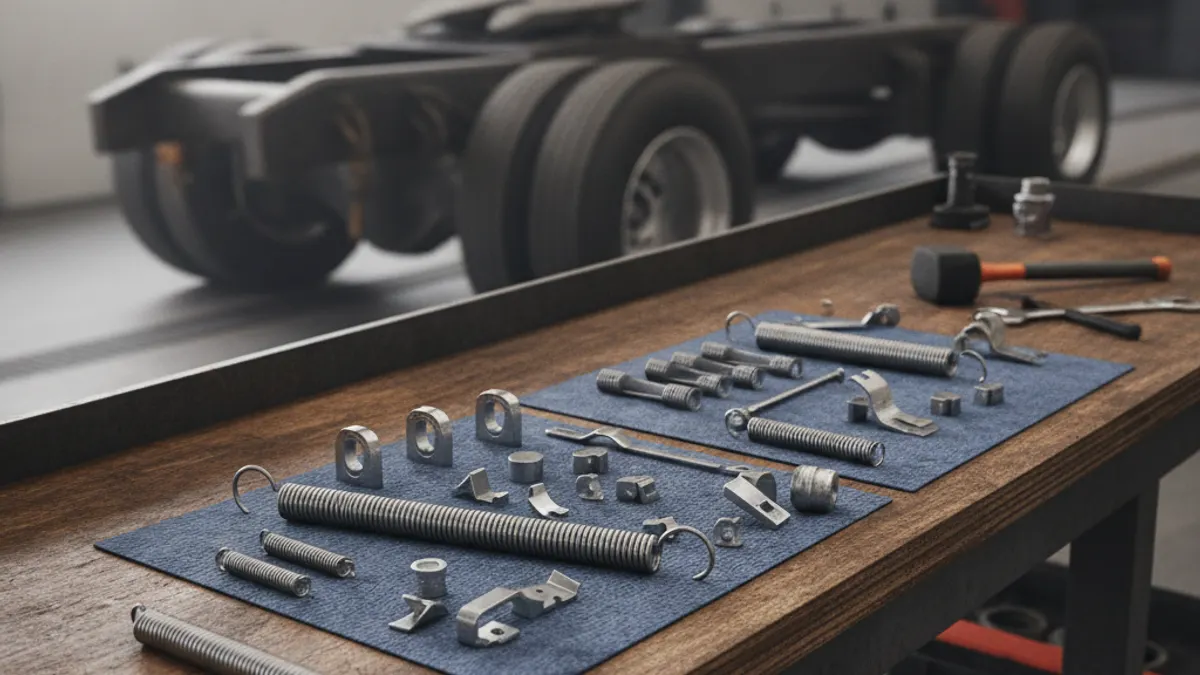
What a drum brake hardware kit actually is
A drum brake hardware kit is a boxed set of the small wear parts that hold a set of S-cam brake shoes in place and return them when you release the pedal: return spring, cam rollers and roller retainers, anchor pin bushings, retaining clips, washers and snap rings. It is sold per wheel end (or per axle), matched to brake size and shoe design, and it is meant to be installed every time the linings are replaced. Reusing tired springs and worn rollers on new linings is a common reason a fresh brake job drags, grabs, or falls out of adjustment within a few thousand miles.
None of this hardware carries braking torque directly, but all of it controls how cleanly the shoe moves. Heavy-truck foundation brakes are pneumatic, not hydraulic: air pressure fills the chamber, the chamber pushrod moves the slack adjuster, the slack rotates the S-cam, and the cam head forces the shoe rollers outward against the drum. A fully charged system typically sits around 120 psi, with the governor cutting out somewhere in the 120-135 psi range and cutting back in around 100-110 psi; the low-air warning is set near 60 psi. Every bit of drag, slop, or weak spring tension in that chain shows up as brake lag, uneven lining wear side to side, or a shoe that will not come off the drum when the air is released.
What's inside the kit
Contents vary by manufacturer and by brake design, but a typical heavy-truck kit covers the following:
| Component | What it does | What failure looks like |
|---|---|---|
| Shoe return spring | Pulls both shoes off the drum as chamber pressure drops | Slow release, brakes running hot, glazed or blued linings, higher fuel burn |
| Cam rollers | Roll on the S-cam profile so shoe movement stays smooth and even | Flat-spotted or scored rollers, sluggish response, one shoe doing most of the work |
| Roller retainer springs and clips | Hold the rollers captive against the shoe web | Roller drops out during a wheel-off, shoe cocks in the spider |
| Anchor pin bushings | Let the shoe pivot on the anchor without side play | Ovalled bushings, shoe rock, tapered lining wear |
| Anchor pins (some kits) | Fixed pivot for the shoe at the opposite end from the cam | Grooved or seized pins, shoe binds instead of pivoting |
| Retaining washers, snap rings, cotter pins | Locate the shoe axially and keep the assembly together | Missing hardware, shoe walking sideways in the spider |
| Camshaft bushings and grease seals (camshaft kits only) | Support the S-cam in the spider and cam bracket, keep grit and water out | Cam shaft play, poor adjustment retention, corrosion |
| Rivets (riveted-lining kits) | Attach lining blocks to the shoe table | Loose rivets, rattling, lining separation |
Note the split. A shoe hardware kit covers springs, rollers, bushings and clips. A camshaft repair kit covers cam bushings, seals, thrust washers and snap rings, and is a separate job because the cam has to come out. Some suppliers bundle both into an axle kit. Check the parts list before you order, not after the wheel is off.
Why springs and rollers get renewed with the linings
Return springs live in a punishing spot: heat cycled hard on every long grade, then soaked in road salt and wash water. Heat gradually relaxes the spring, so it still looks serviceable but no longer pulls the shoe fully clear of the drum. That residual contact is what cooks a set of linings, and it rarely shows up on a static inspection because a few thousandths of drag is enough to build heat. Compare a used spring against a new one from the kit; if the free length has grown noticeably or the coils have opened, it was already costing you lining life.
Cam rollers wear a flat on the face that contacts the cam. Once flattened, the roller skids instead of rolling, effective cam throw changes slightly, and the two shoes stop moving in step. Rollers are inexpensive and the wheel is already apart, so there is little reason to reuse them. The same logic applies to anchor bushings: a few thousandths of ovality lets the shoe rock, which produces the classic tapered wear pattern where one end of the lining is down to the rivets and the other still has material left. For how these pieces work together, see our breakdown of S-cam foundation brakes.
Choosing the right kit
Kits are not universal. Work through these five points before ordering:
- Brake size. Measure drum inside diameter and lining width. North American heavy axles commonly run 16.5 in x 7 in and 16.5 in x 8 5/8 in, with 15 in x 4 in on some steer and trailer positions. European S-cam brakes are usually specified in millimetres, in the 410-420 mm diameter range with widths from roughly 160 to 220 mm. Kit contents differ between sizes even within one brand.
- Axle position. Steer, drive and trailer wheel ends use different spring rates and sometimes different roller diameters. Do not cross-fit a trailer kit onto a drive axle because the box looked similar.
- Shoe retention design. Traditional designs pivot the shoe on an anchor pin with pressed bushings. Quick-change designs retain the shoe with a wrap-around retainer spring and no separate bushing. Ordering the wrong style leaves you holding parts that will not fit.
- OE cross-reference. Match against the axle or foundation-brake maker's number (Meritor, Bendix, Haldex, Knorr-Bremse or Wabco, depending on the build) rather than the truck model alone. A single chassis can leave the factory with more than one foundation brake.
- Buy hardware and linings together. Sourcing the kit and the shoe set to one OE-grade specification avoids stack-up problems; check that both are dimensioned to the same foundation-brake reference, and that the friction code going on one wheel end is the code going on the other end of the axle.
What the kit does not cover
A hardware kit is not a full brake job. Inspect and quote separately for drums (heat checking, cracks, and machined diameter against the discard limit stamped on the drum), brake chambers and pushrod condition, slack adjusters and their clevis pins, cam bracket and spider condition, and the wheel seal. If the cam shaft has visible play in its bushings, address it now, because a loose cam undoes the adjustment you just set. Grease the cam bushings and slack adjuster with the correct lubricant at the same time; details are in our guide to greasing slack adjusters and cam shafts.
On reassembly, use the correct spring tool rather than levering with a pry bar, since a stretched or nicked spring is a scrap spring. Set adjustment to specification, then verify pushrod stroke at operating pressure and confirm both wheel ends on the axle release cleanly. The step-by-step procedure is in our truck brake shoe replacement guide.
Always follow the axle or foundation-brake manufacturer's current service manual for torque values, drum discard limits, pressure settings and adjustment specifications. Figures vary between designs and are revised over time.

Need the part, not just the answer?
OE-grade air brake compressors and repair kits, manufactured and tested to commercial-vehicle standards.
Shop VADEN partsPublished by VADEN Original. Product links point to the manufacturer’s official catalogue. Specifications are general — always confirm figures against your vehicle’s service manual.