 airbrakecompressor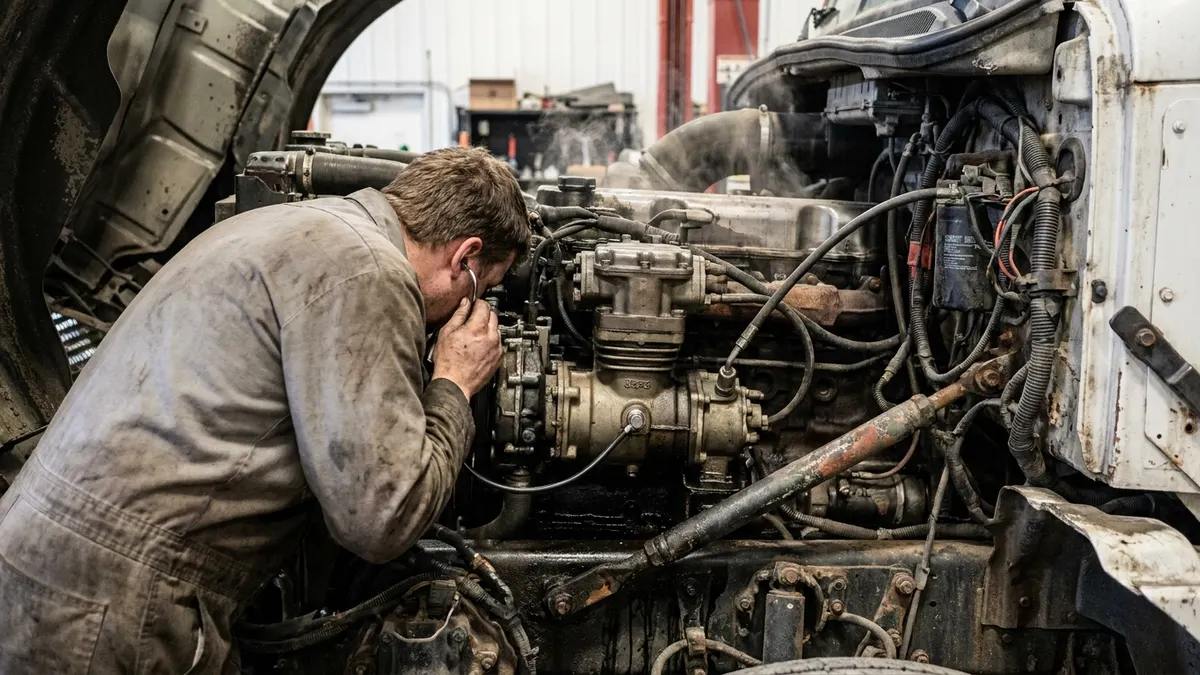
A truck air compressor that is losing coolant is nearly always failing at the cylinder head: a breached head gasket, a cracked or corroded head casting, or a leaking coolant line union. Because the compressor is water-cooled from the engine's own cooling system while its bore is pumping discharge air, an internal breach normally pushes coolant into the air brake system instead of onto the ground. The pattern to look for is coolant loss with no external stain, a milky tan emulsion in the discharge line and air dryer, and a cooling system that pressurises within minutes of start-up.
Two leak paths, two sets of symptoms
An external leak is the straightforward one. Coolant weeps from the joint between head and compressor body, from the hose or banjo unions at the coolant ports, or from a hairline crack in the casting. You will find a wet, sweet-smelling deposit on the compressor and a dried residue trail running down the block.
An internal leak is the one that costs money. The coolant jacket runs through the cylinder head only millimetres from the discharge passage, and when the gasket between them fails the two circuits are joined. Pressure then decides the direction of flow. Under load, discharge air at governor cut-out — typically 120 to 135 psi — is far above the cooling system's cap rating, which on heavy-duty engines usually falls in the 7 to 20 psi range, so air is driven into the coolant jacket. When the compressor unloads, or after shutdown as the system cools, the pressure balance reverses and coolant migrates into the bore, to be carried downstream as liquid and vapour the next time the unit loads.
Symptoms and what each one points to
| Observation | Likely leak path | How to confirm |
|---|---|---|
| Coolant level drops, no external stain, no white exhaust smoke | Internal leak at the compressor head or head gasket | Drain the wet tank and look for milky liquid or a glycol smell |
| Milky tan sludge in the discharge line, dryer purge or cartridge | Coolant carried past the bore into the discharge side | Remove the discharge line at the compressor and inspect the port |
| Cooling system pressurises quickly, upper hose hard, expansion bottle blows over | Discharge air forced into the coolant jacket while loaded | Watch for continuous bubbling in the coolant with the cap off, engine running |
| Wet, sweet residue on the compressor head or coolant unions | External leak at the gasket edge, a fitting, or a cracked casting | Cooling system pressure test, cold, held at cap rating |
| Compressor or engine crankcase oil turning milky | Coolant reaching the crankcase through the head or base gasket | Oil sample; compare condition against a known-good reference |
Rule the engine out first
Coolant loss with no external leak also describes an engine head gasket, and the two faults are routinely confused. A combustion gas (block) test on the coolant is the fastest separation: an engine head gasket normally pushes exhaust gas into the coolant and gives a positive result, while a compressor fault does not. White exhaust smoke, coolant in the charge air cooler, or a misfire on start-up all point at the engine rather than the compressor.
One nuance catches people out. Most gear-driven compressors are pressure-lubricated from the engine oil gallery and drain back into the sump, so coolant entering the compressor crankcase can end up in the engine oil. Milky engine oil is therefore not automatic proof of an engine head gasket — check the air side before condemning anything on the engine.
Confirming it is the compressor
- Pressure test the cooling system cold at the cap rating and hold it. A steady drop with nothing visible on the outside sends you looking for an internal path.
- Leave the tester connected and remove the discharge line at the compressor. Coolant appearing at the discharge port, or a pressure drop that stops as soon as the compressor coolant lines are capped, is direct confirmation.
- Drain the wet tank and the dry reservoirs fully. Milky liquid, or a sweet glycol smell in place of the usual condensate, points at the compressor head. Straight oil carryover is a different fault with a different cause — see the guidance on a compressor pumping oil.
- Open the air dryer. A cartridge saturated with tan emulsion, or purge discharge that leaves a milky film on the ground, means glycol has already reached the drying stage.
- If the result is still inconclusive, isolate the compressor. Cap both coolant ports and pressurise the jacket with regulated air at no more than the cooling system rating, then look for it escaping into the bore or crankcase.
- Remove the head. A blown gasket between the coolant and discharge passages, a corroded deck face, or a crack across a port is normally obvious once the surfaces are clean.
Coolant in the air system is a contamination event, not a single-component failure. Glycol does not evaporate out of the lines the way water does.
Repair: head, gasket kit, or complete compressor
If the bore, piston rings and crankcase are clean and only the head is damaged, a head repair is legitimate. Check the deck face for flatness and pitting, fit a complete cylinder head gasket kit rather than a single gasket, and torque the fasteners in the manufacturer's sequence to the manufacturer's current figure — head bolt specifications vary by compressor model and must never be guessed from memory. Where the casting is cracked, corroded through, or the valve seats are eroded, a replacement head is the right answer; VADEN Original supplies OE-grade air compressor cylinder heads for the common heavy-vehicle compressor families.
Replace the complete compressor instead when the bore is scored, when coolant has sat in the crankcase long enough to rust the crankshaft and bearings, or when the unit is already at high hours. Fitting a fresh head to a worn bottom end only moves the next failure a few months down the road.
Decontaminate the air side, or the repair will not hold
Glycol attacks desiccant, swells elastomer seals and leaves a sticky film that hangs valves open or slows their response. Once the compressor is fixed, the rest of the circuit has to be dealt with: replace the dryer cartridge, clean or replace the discharge line, drain and flush every reservoir, and inspect the governor, foot brake valve, relay valves and ABS modulator for contamination. The full procedure is set out in the guide to flushing the air system after a compressor failure. Skipping it is the usual reason a second dryer cartridge fails within weeks of the repair.
Preventing the next one
Most compressor head gasket failures begin with heat or coolant chemistry. Keep the coolant at its specified inhibitor level, because depleted additive lets the head deck corrode from the coolant side. Verify thermostat operation and radiator condition, since a compressor working behind an overheating engine sees deck temperatures well above design. Keep accessory air demand within the compressor's duty cycle so discharge temperature stays down, and drain the reservoirs on schedule — early carryover found in the wet tank is a maintenance job, while the same fault found at the relay valves is a system-wide flush.
Source (VADEN Original): Air Brake Compressor Duty Cycle & Efficiency Guide

Need the part, not just the answer?
OE-grade air brake compressors and repair kits, manufactured and tested to commercial-vehicle standards.
Shop VADEN partsPublished by VADEN Original. Product links point to the manufacturer’s official catalogue. Specifications are general — always confirm figures against your vehicle’s service manual.