 airbrakecompressor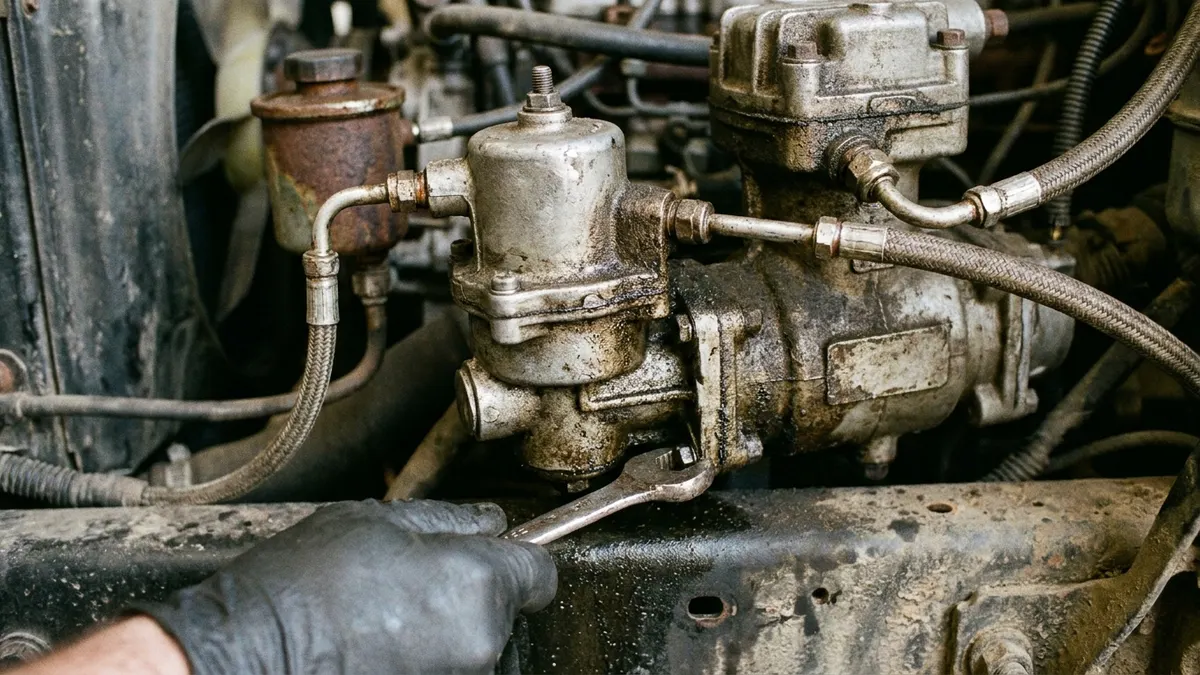
Adjusting an air brake governor means resetting the reservoir pressure at which it unloads the compressor (cut-out) and the pressure at which it puts the compressor back to work (cut-in). On most heavy-truck governors the job is the same: park and chock the vehicle, relieve system pressure, remove the top cover, loosen the locknut on the adjusting screw, then turn the screw clockwise to raise cut-out or counterclockwise to lower it until cut-out lands in the 120-135 psi band and cut-in falls around 100-110 psi. The gap between those two figures is set by the governor's internal spring and piston, so it is not adjustable — a governor with a bad differential gets replaced, not tuned.
What the governor actually controls
An air brake governor is a pneumatic pressure switch. It has nothing to do with hydraulic pressure regulation on a car; it senses air pressure in the supply (wet) reservoir and sends a control signal to the compressor's unloader mechanism. Below cut-in, the signal line is exhausted, the unloaders drop, and the compressor pumps air. At cut-out, the governor sends reservoir air to the unloaders, the intake valves are held open (or the unloader port opens), and the compressor keeps turning without building pressure. On air-dryer-equipped trucks the same signal line normally fires the dryer purge, which is the sharp exhaust pop you hear the instant the system cuts out. For the mechanical background see how the governor works and the matching unloader valve.
The pressure window you are aiming for
| Measurement | Typical range | How you confirm it |
|---|---|---|
| Cut-out | 120-135 psi | Compressor unloads, dryer purges, gauge stops climbing |
| Cut-in | 100-110 psi | Compressor loads again as pressure bleeds down |
| Differential (cut-out minus cut-in) | Roughly 20-25 psi, not adjustable | Subtract the two measured values |
| Fully charged system | About 120 psi and above | Steady gauge with engine at fast idle |
| Low-air warning device | About 60 psi | Buzzer and dash light activate on a controlled bleed-down |
| Spring brake application | About 20-45 psi | Parking brakes set themselves as pressure keeps falling |
| Reservoir safety (pop-off) valve | Usually near 150 psi | Vents the wet tank if the governor fails to cut out |
Always check the vehicle manufacturer's service data and the governor's own specification sheet before you set anything. Ranges above are the industry norms you will see on Bendix, Wabco/ZF, Knorr-Bremse and Midland-style systems, but individual chassis and vocational builds can be specified tighter.
Rule out the real fault before you turn the screw
Most "governor problems" are not the governor. A compressor that will not build to cut-out, a leaking signal line, a plugged air dryer purge valve, or a system with heavy leakage will all look like a mis-set governor on the dash gauge. Turning the adjusting screw up to compensate only hides the fault and pushes the system closer to the safety valve. Confirm build-up time from cut-in to cut-out with the engine at governed rpm, listen for leaks with the system charged and the engine off, and check that the governor exhaust port is not passing air continuously. If the compressor simply never unloads, work through the no-cut-out diagnosis before adjusting anything.
Tools and safety
- A known-accurate master test gauge, tee'd into the supply reservoir or a service port. Dash gauges routinely read several psi off and are not a setting reference.
- Wheel chocks, and level ground. As you drain the tanks the spring brakes will apply on their own somewhere in the 20-45 psi range, but never rely on that as your only restraint.
- Correct wrenches for the cover screws and the adjusting screw locknut, plus a replacement cover gasket if yours is torn.
- Eye protection. Air lines under pressure blow oil, water and carbon out with force, and the compressor head and discharge line stay hot long after shutdown.
Drain all reservoirs and confirm zero pressure on the test gauge before loosening any fitting or removing the governor cover. Never crack a line on a charged system to "see if it has air."
Step-by-step: checking and setting cut-in and cut-out
- Park on level ground, chock the wheels, and release the parking brakes only if the procedure requires it — otherwise leave them applied.
- Install the test gauge on the supply reservoir and compare it against the dash gauge. If the two disagree, trust the test gauge and note the dash error for later repair.
- Start the engine and let the system charge at fast idle. Record the pressure at the exact moment the compressor unloads and the dryer purges. That is your cut-out reading.
- Shut the engine off and bleed pressure down slowly, either by fanning the service brakes or by cracking a drain valve. Record the pressure where the compressor would load again (restart and watch, or listen for the unloader signal to exhaust). That is cut-in.
- Subtract cut-in from cut-out. If the differential is far outside roughly 20-25 psi, stop — that is an internal fault and adjusting the screw will not correct it.
- To adjust, drain the system to zero, remove the governor top cover, and loosen the locknut on the adjusting screw. Clockwise raises cut-out; counterclockwise lowers it. A quarter turn typically shifts cut-out by only a few psi, so work in small steps.
- Retighten the locknut, refit the cover and gasket, then recharge and re-measure. Repeat through at least two or three full charge cycles — a setting that looks right once can drift as the governor seats.
- Once cut-out sits in the 120-135 psi window with cut-in around 100-110 psi, check that the governor exhaust port is dry and not leaking, and that nothing was left loose.
When adjustment will not fix it
Replace the governor rather than chase it if the adjusting screw runs out of travel before reaching spec, if the differential is collapsed or excessive, if the exhaust port leaks continuously, or if cut-out wanders between cycles. Governors are inexpensive relative to the downtime, and a worn one lets the compressor run loaded far longer than intended, which cooks the discharge line and carries oil downstream. If the compressor itself is tired and simply cannot reach cut-out in a reasonable build-up time, repair it properly or fit a fresh unit — the OE-grade air brake compressor range covers the common heavy-truck applications — instead of dialling the governor down to disguise a weak pump.
Verify before the truck rolls
Finish with a full functional check. Charge to cut-out, shut the engine down, and watch for excessive pressure drop with the brakes released and again with them applied. Bleed down and confirm the low-air warning activates around 60 psi and that the spring brakes set themselves as pressure falls through the 20-45 psi band. Recharge, confirm cut-out and cut-in one more time on the test gauge, then drain the tanks of accumulated water before the vehicle goes back into service. Record the final settings on the work order — the next technician, and the next roadside inspector, will want to know what the system was set to and when.

Need the part, not just the answer?
OE-grade air brake compressors and repair kits, manufactured and tested to commercial-vehicle standards.
Shop VADEN partsPublished by VADEN Original. Product links point to the manufacturer’s official catalogue. Specifications are general — always confirm figures against your vehicle’s service manual.