 airbrakecompressor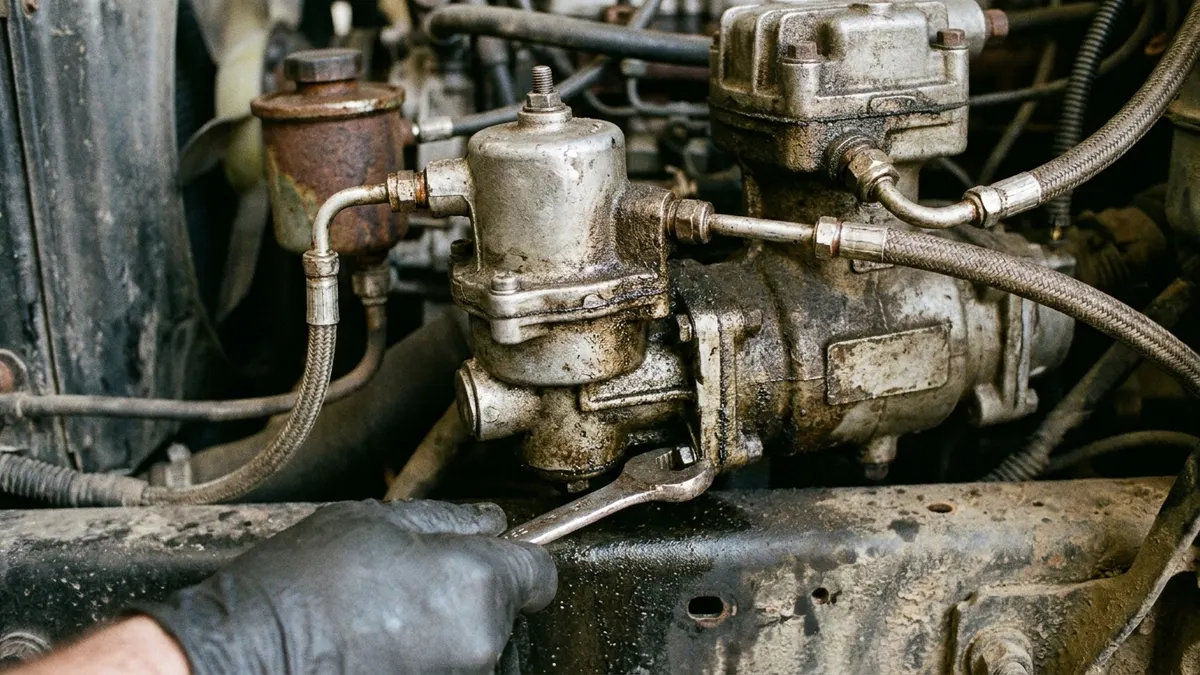
An air governor rebuild kit is a small parts package that lets you restore a leaking, sticking, or out-of-spec governor instead of buying a whole new unit. A typical kit contains the internal wear items: O-rings and seal rings, the piston or plunger, one or more calibrated springs, and an inlet filter screen. Replacing those parts reseals the valve and re-establishes the spring forces that set the compressor's cut-in and cut-out points, so the air system charges and shuts off at the correct pressures again.
The governor is the pneumatic on/off switch for your compressor. It reads reservoir pressure and, at cut-out, sends a signal to the compressor's unloader to stop pumping; at cut-in it releases that signal so the compressor builds air again. When the governor's seals harden or its springs fatigue, that switching loses accuracy, and the whole charging cycle drifts.
What's in an air governor rebuild kit
Kits vary by valve design, but most cover the same functional parts. The exact contents depend on the governor model, so match the kit to the unit stamped on the valve or listed on your compressor's cross-reference.
| Part | Job it does | Why it fails |
|---|---|---|
| O-rings and seal rings | Seal the piston bore and port passages so pressure signals move the piston cleanly | Harden, take a set, or crack with age, heat, and oil contamination |
| Piston / plunger | Moves against spring force to open and close the inlet and exhaust passages | Scoring or a worn sealing land that lets air bypass |
| Adjusting and piston springs | Set the calibrated force that defines cut-out and the cut-in differential | Fatigue and corrosion shift the calibration over time |
| Inlet filter screen / strainer | Keeps debris and carbon out of the moving parts | Clogs, causing slow or erratic response |
| Exhaust seat / retaining hardware | Seals the exhaust port and holds the assembly together | Wear that produces a steady leak at the exhaust |
When to rebuild versus replace the governor
A rebuild is the right call when the valve body is in good shape and only the internal seals and springs are worn. Signs that point to a rebuild rather than a full replacement include a small steady leak at the exhaust port, a cut-out that has slowly drifted, or a piston that sticks after long service. If the aluminum body is clean, the bore is smooth, and the adjusting threads are intact, a kit will bring it back to spec at a fraction of the cost of a new unit.
Replace the whole governor when the housing is corroded or the bore is scored, when the adjusting screw or its threads are stripped, or when you cannot source the correct kit for that valve. A rebuild cannot hold calibration on a damaged bore, and a governor that will not stay in spec is a safety item, not a savings opportunity. On very old or unknown valves, a new OE-grade unit is often the more reliable path. When you do replace, VADEN's compressor governor valves and rebuild parts cross-reference by original equipment number so you can match the correct valve to your compressor.
How a rebuild restores correct cut-in and cut-out
The governor's accuracy comes from two things working together: seals that hold pressure without leaking, and springs that push back with a known force. Fresh O-rings let the piston move at precisely the pressures the design intends, instead of leaking past and responding late. New springs restore the calibrated resistance, so when you set the adjusting screw the governor holds cut-out within the normal band and gives a proper cut-in differential below it.
On a healthy system, cut-out lands around 120-135 psi and cut-in around 100-110 psi, with a fully charged system sitting near 120 psi. The gap between cut-in and cut-out is usually about 20-25 psi. A worn governor blurs those numbers: cut-out creeps up or down, the differential shrinks, or the valve never unloads the compressor and it runs constantly. Rebuilding the internals is what makes those thresholds crisp and repeatable again. If your governor never reaches cut-out at all, work through the no-cut-out diagnosis before assuming the kit is the fix, because the fault can also live in the discharge line or unloader.
Rebuild procedure in brief
- Drain all air tanks completely and confirm zero pressure on the dash gauges.
- Mark and disconnect the reservoir and unloader lines, then remove the governor.
- Disassemble the valve, noting the order of the piston, springs, and seals.
- Inspect the bore and body; a scored or corroded housing means replace, not rebuild.
- Fit every part from the kit — do not reuse old O-rings or springs.
- Reassemble, reinstall, and pressure up the system.
- Set and verify cut-out and cut-in, then watch the exhaust port for leaks.
After reassembly, the adjustment step is essential. A rebuilt governor still has to be dialed in, so follow a proper governor adjustment procedure to bring cut-out to spec and confirm the differential. Cycle the system several times and listen: the exhaust port should be quiet at rest, and the compressor should load and unload cleanly at the target pressures. A governor is inexpensive to rebuild but central to safe braking, so never sign off until the numbers repeat consistently across multiple cycles.
The bigger picture
The governor does not work alone. It commands the compressor's unloader and depends on clean, dry air to stay reliable. If you are chasing charging problems, verify the compressor, the unloader, and the air dryer alongside the governor rather than replacing parts one at a time. A rebuild kit is a smart, low-cost repair when the governor itself is the worn link — and a clear signal to step up to a new valve when the body has had its day.

Need the part, not just the answer?
OE-grade air brake compressors and repair kits, manufactured and tested to commercial-vehicle standards.
Shop VADEN partsPublished by VADEN Original. Product links point to the manufacturer’s official catalogue. Specifications are general — always confirm figures against your vehicle’s service manual.