 airbrakecompressor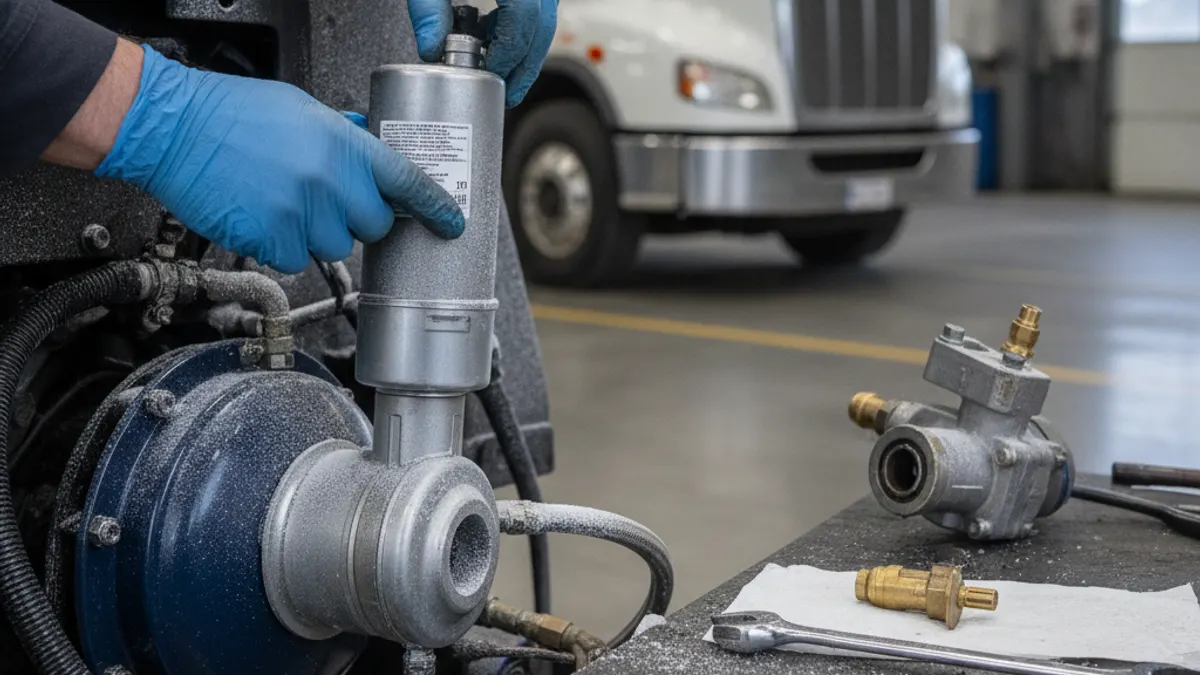
Winter air brake prep comes down to one job: get the water out of the system and keep it out. Drain every reservoir until it blows dry, verify the air dryer is purging and its heater works, confirm the compressor builds normally and the governor cuts out in the usual 120–135 psi range, then check that lines, glad hands and chambers are sealed and free of trapped moisture. Do that before the first hard freeze and most winter air brake problems — frozen lines, brakes that will not release, a low-air buzzer that will not quit — simply never happen.
Cold weather does not break air brake parts. It exposes moisture that has been accumulating all summer. An air brake system is pneumatic: it runs on compressed air, and compressed air always carries water vapor plus a trace of compressor oil. In July that water sits harmlessly in the wet tank. In January it freezes in a purge valve, a low spot in a nylon line, or the exhaust port of a relay valve — and the truck does not move.
The pressures below are typical service ranges for a dual air brake system. Exact settings vary by vehicle, so the manufacturer's service manual governs.
The winter air brake prep checklist
| Item | What to do | Fail / act now |
|---|---|---|
| All reservoirs (wet, service, trailer) | Drain fully with the system charged, then bleed to zero | Standing water, oil, sludge or rust |
| Air dryer purge | Listen for the exhaust pop at each governor cut-out | No purge, continuous leak, wet discharge |
| Dryer desiccant cartridge | Replace on the maker's interval, commonly annual | Overdue, unknown age, water in the wet tank |
| Purge valve heater | Check fuse, connector and heater continuity | Open circuit, corroded pin, chafed lead |
| Build-up time | About 85 to 100 psi in 45 seconds or less | Slow build: leaks, restricted intake, worn compressor |
| Governor | Cut-out roughly 120–135 psi; cut-in roughly 100–110 psi | Frequent cycling, no cut-out, cut-in below range |
| Static leak rate | Engine off, brakes released: max 2 psi/min single, 3 psi/min combination | Any loss above the limit |
| Applied leak rate | Full application held: max 3 psi/min single, 4 psi/min combination | Any loss above the limit |
| Low-air warning | Fan down; light and buzzer by about 60 psi | Late, intermittent or no warning |
| Spring brakes | Keep fanning; valves pop out around 20–45 psi | No automatic application, or early pop-out |
| Glad hands and hoses | Replace cracked seals; check hoses for chafing | Flat, split or weather-checked seals |
| Brake adjustment | Measure pushrod travel for the chamber size | At or over the adjustment limit |
| Slack adjusters and cams | Grease on schedule, winter-rated | Stiff cams, dry bushings, seized automatic slacks |
Step 1: Drain the tanks properly
Most drivers open the petcock, hear a hiss and close it. That empties air, not water. Drain each tank with the system fully charged — around 120 psi — so the pressure pushes the water out, and hold the valve open until nothing but dry air comes out. The wet tank, the first reservoir after the compressor, collects the most and should be done first.
What comes out tells you the health of the whole system. Clear water means the dryer is saturated or overdue. Oily grey emulsion means the compressor is passing oil downstream, and that mixture coats desiccant, gums valve seats and turns to sludge when it gets cold. Rust flakes mean the tank has been wet a long time. More on where it comes from in our guide to water in air tanks.
Automatic drain valves
If the truck has automatic drain valves, do not assume they work. Many have an internal heater; test that circuit the same way you test the dryer heater. A dead automatic drain is worse than no drain at all, because nobody is checking manually.
Step 2: Service the air dryer before the cold arrives
The air dryer is the single most important winter component. A saturated desiccant cartridge stops removing moisture and starts passing it downstream, and a dryer that cannot purge will freeze its own exhaust closed. Replace the cartridge on the manufacturer's interval — commonly annual for standard cartridges, longer for extended-life units — and do it in the fall, not after the first freeze-up.
While the dryer is apart, check the purge valve for a worn seat and the heater for a corroded connector. The heater is thermostatically controlled and typically energizes as ambient temperature drops toward roughly 40 °F (about 4 °C), keeping the purge valve from icing shut. A blown fuse or a green, crusty pin is a common reason a dryer quits purging in the cold.
Step 3: Look upstream at the compressor
Excess moisture and oil downstream is often a compressor story. A worn compressor passes more oil past the rings, and one that runs loaded far more than it should — because of leaks, a stuck unloader or a governor fault — pumps more water into the system than the dryer was sized to handle.
Check the discharge line for carbon buildup, confirm the intake filter or feed from the engine air cleaner is clean, and make sure the unit unloads cleanly at cut-out. A compressor that cycles constantly all summer will bury a dryer in moisture by November.
Step 4: Alcohol evaporators and air brake antifreeze
On trucks with no air dryer, an alcohol evaporator or a metered antifreeze injector lowers the freezing point of whatever moisture is in the system. Top the reservoir before the season and check the level weekly in hard cold.
On trucks that do have a desiccant air dryer, be careful. Most dryer manufacturers advise against dosing the system with alcohol, because it can strip the desiccant's coating and shorten cartridge life. A properly serviced dryer should not need antifreeze at all, so if a dryer-equipped truck still freezes up, fix the dryer rather than pouring alcohol at the symptom. The trade-offs are covered in air brake antifreeze and alcohol evaporators.
Step 5: Foundation brakes, chambers and lines
Walk the system with a light. Look for hoses rubbing on frame rails, nylon tubing sagging into a low loop where water can pool and freeze, and chafed lines near the fifth wheel. Replace glad hand seals: a hardened seal that leaks at 20 °F (about −7 °C) will drop trailer supply pressure on the first cold morning.
Check pushrod travel on every chamber against the limit for that chamber size, and grease slack adjusters and camshaft bushings with a grease rated for the temperatures you will actually see. Seized cam bushings and dry slack adjusters cause a large share of cold weather air brake complaints that turn out not to be ice at all.
Cold-morning habits that matter
- Let the system build to full pressure and cut out before moving. Do not drive off at 80 psi.
- Drain tanks at the end of the day, while the system is warm and before condensation freezes overnight.
- Park with the vehicle held by the spring brakes, not by holding service pressure.
- Never use the trailer hand valve to hold a parked vehicle in freezing weather — applied shoes can freeze to the drums.
- If shoes do freeze to the drums, use gentle heat or a rubber mallet on the drum. Do not drag the vehicle free.
- Carry spare glad hand seals, a spare dryer cartridge on long runs, and a working air gauge.
If you do only three things before winter: drain every tank dry, replace the dryer cartridge, and confirm the purge valve heater has power. Those three cover the large majority of cold-weather air brake failures.
When to escalate
Repair the vehicle before the cold if the leak rate is over the limit, the low-air warning does not come on by about 60 psi, the spring brakes do not apply automatically in the 20–45 psi window, or the system will not build back to cut-out. Those are out-of-service conditions year round, and cold weather only makes them worse.
The cartridge change is only half the winter job: a purge valve frozen part-open will bleed the tanks overnight, so inspect the dryer purge valves and their heater feed while the unit is off its bracket.

Need the part, not just the answer?
OE-grade air brake compressors and repair kits, manufactured and tested to commercial-vehicle standards.
Shop VADEN partsPublished by VADEN Original. Product links point to the manufacturer’s official catalogue. Specifications are general — always confirm figures against your vehicle’s service manual.