 airbrakecompressor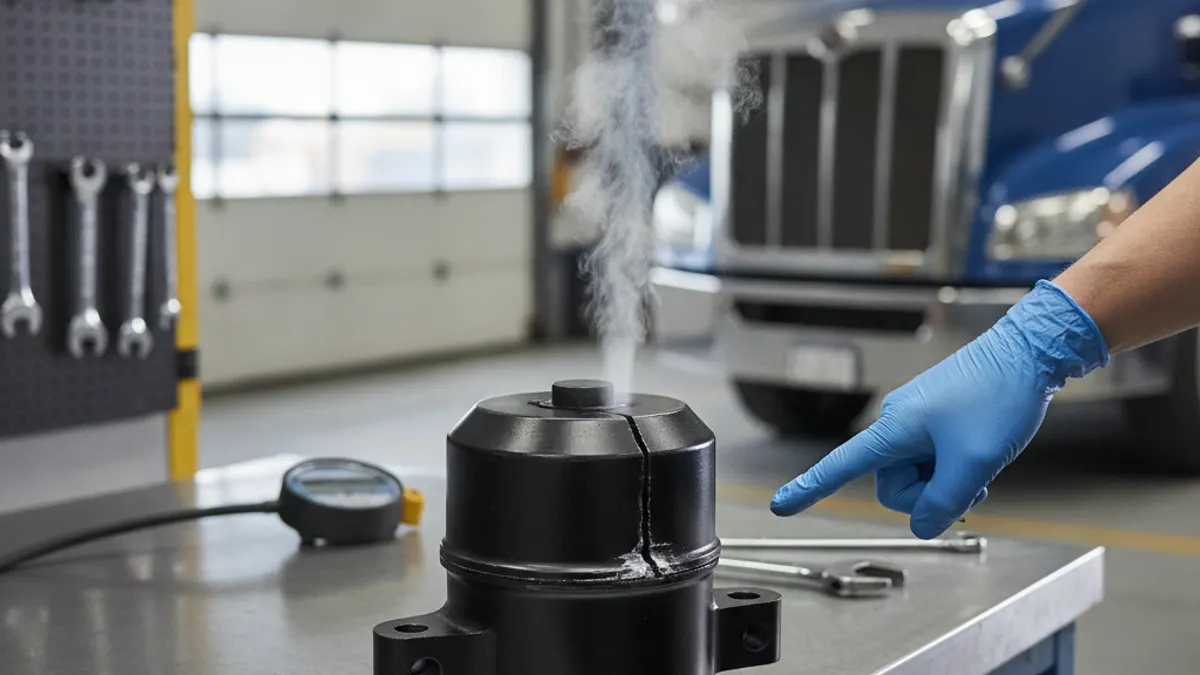
A brake chamber leaks air because its pressure boundary has failed — most often a torn service diaphragm, but also a corroded clamp band, a rusted or cracked housing, a leaking port fitting, or a worn pushrod seal. You find it by building the system to full pressure, shutting the engine down, and listening at each wheel end first with the brakes released and then with the service brakes held on. An audible leak at a chamber is an out-of-service defect, so plan on fixing it where it sits rather than driving it in.
What a leaking brake chamber sounds and looks like
The symptom is a steady hiss at one wheel end. That hiss is either constant with the vehicle parked and the brakes released, or it appears only when the brakes are applied, depending on which section of the chamber failed. Because the leak bleeds a live circuit, the compressor cycles more often than it should, and a large enough leak will pull system pressure down toward the low-air warning point around 60 psi.
An air brake chamber is a pneumatic actuator, not a hydraulic cylinder: air pressure pushes a diaphragm, the diaphragm pushes a rod, the rod turns the slack adjuster. A service-only chamber has one diaphragm. A spring brake (piggyback) chamber has two sections back to back — the front service section and the rear emergency/parking section housing a heavy coil spring. Which half is leaking changes both the symptom and the risk.
Quick symptom-to-cause read
| When you hear it | Likely source | What it affects |
|---|---|---|
| Constant hiss, parked, brakes released, engine off | Spring brake (rear) section diaphragm or housing, or the supply line fitting | Bleeds the parking/emergency circuit; brakes may drag or apply |
| Hiss only while the foot valve is applied | Service (front) section diaphragm or service port fitting | Service braking at that wheel end; slow release |
| Hiss at the clamp band seam | Corroded or unevenly torqued clamp band, distorted housing lip | Either section; usually worsens with heat cycles |
| Air out of the pushrod boot at the non-pressure end | Ruptured service diaphragm venting past the pushrod seal | Loss of applied force at that chamber |
| Weeping from a rust bubble or pinhole in the can | Cracked or corroded housing | Chamber is scrap — replace, do not patch |
Safety first: what a spring brake chamber can do to you
The parking section contains a compressed power spring capable of releasing with lethal force. If the housing is corroded, cracked, or has already been welded or drilled, treat it as stored energy. Never cut, torch, split, or hammer apart a spring brake housing, and never remove the clamp band on the spring side. Modern spring chambers are sealed and non-serviceable for exactly this reason.
Before working near any chamber, chock the wheels and shut the engine down. If the vehicle has to be moved or the parking brake released mechanically, cage the spring first with the correct release tool — see how to cage a brake chamber for the step-by-step.
How to find the leaking chamber
- Chock the wheels. Do this before touching any control valve. Never rely on the parking brake alone while diagnosing a leak in the circuit that holds it.
- Build the system to full pressure. Governor cut-out normally falls somewhere in the 120–135 psi band and cut-in around 100–110 psi, so a fully charged system sits near 120 psi. Then shut the engine down.
- Listen with everything released. Walk each wheel end. A hiss now points at the spring/emergency side or at a supply-line fitting.
- Apply and hold the service brakes and walk the wheel ends again. A hiss that appears only now points at the service side.
- Apply the parking brake and release it, listening as each chamber cycles.
- Confirm with soapy water. Spray the clamp band seam, both port fittings, the pushrod boot, and the body of the can. Bubbles show the exact source in seconds.
- Check the pushrod boot vent. Air escaping around the pushrod on application is a torn service diaphragm nearly every time.
- Rule out the parts either side of it. A leaking relay valve exhaust, a chafed hose, or a bad gladhand seal sounds much the same from a few feet away. Isolate before condemning the chamber.
A timed leakage check is worth running alongside the walk-around. With the engine off, pressure drop per minute has to stay inside a small allowance — a couple of psi per minute for a straight truck, slightly more for a combination and with the brakes applied — set by the regulations in force where you operate. If the whole system bleeds down and no single chamber stands out, treat it as a system fault instead of chasing one wheel end.
Root causes, in the order you will actually meet them
Ruptured or pinholed diaphragm
The rubber flexes on every application and eventually fatigues, faster if the chamber runs hot beside a dragging brake or if compressor oil carryover reaches it, because oil swells and softens the rubber. If you are also finding oil in the tanks and lines, fix that first or the new chamber will fail the same way.
Corroded or misaligned clamp band
Road salt eats the band and the housing lip. A band that has been loosened and re-torqued unevenly, or reused after corrosion, will not seal. On a service-only chamber with a serviceable band, clean the sealing lip, fit a new diaphragm and band, and torque to the manufacturer's figure — do not guess, and do not simply crank down a rusty band to chase a leak.
Cracked housing or failed port fitting
Impact damage, rust-through, or a cross-threaded fitting will all vent air. A cracked can is not repairable and must never be welded. Fittings can often be resealed with the correct thread sealant and properly cut, deburred tubing.
Water and ice damage
Moisture that gets past a tired air dryer collects at low points, freezes, and splits seals and diaphragms. A chamber that keeps failing every winter is usually telling you the dryer cartridge is finished, not that the chamber was a bad part.
Repair or replace?
| Situation | Action |
|---|---|
| Service-only chamber, torn diaphragm, sound housing | A diaphragm and clamp band kit is acceptable where the manufacturer supports it |
| Spring brake chamber, any internal leak | Replace the complete chamber — sealed, non-serviceable unit |
| Any cracked, pitted, or rust-perforated housing | Replace |
| Leak at a port fitting only, housing sound | Reseal or renew the fitting and tubing |
| One chamber failed on an axle | Replace in axle pairs so both sides stroke and time alike |
Match the replacement to the original: chamber type number and stroke length have to be the same, or braking balance and adjustment limits change. If you are not certain what is bolted on, work through identifying brake chamber type before ordering. Replacement chambers, clamps, and related components sit in the VADEN air brake system parts range.
After the repair
Fit the new chamber, torque the mounting nuts to specification, and route the lines clear of heat sources and chafe points. Build the system back to full pressure and re-check with soapy water at every joint you disturbed. Then measure pushrod stroke and set the slack adjuster, because a fresh chamber running the old, out-of-spec stroke still fails inspection. Finish with a full pre-trip inspection, including a static leakage check, before the vehicle rolls.
Is it safe to drive with a leaking chamber?
No. An audible leak at a brake chamber is an out-of-service condition under roadside inspection criteria, and for good reason: braking force at that wheel end is reduced or gone, the compressor is working harder than it should, and if the leak grows the spring brakes can apply on their own while the vehicle is moving. Repair it where it stands, or have the vehicle towed.

Need the part, not just the answer?
OE-grade air brake compressors and repair kits, manufactured and tested to commercial-vehicle standards.
Shop VADEN partsPublished by VADEN Original. Product links point to the manufacturer’s official catalogue. Specifications are general — always confirm figures against your vehicle’s service manual.