 airbrakecompressor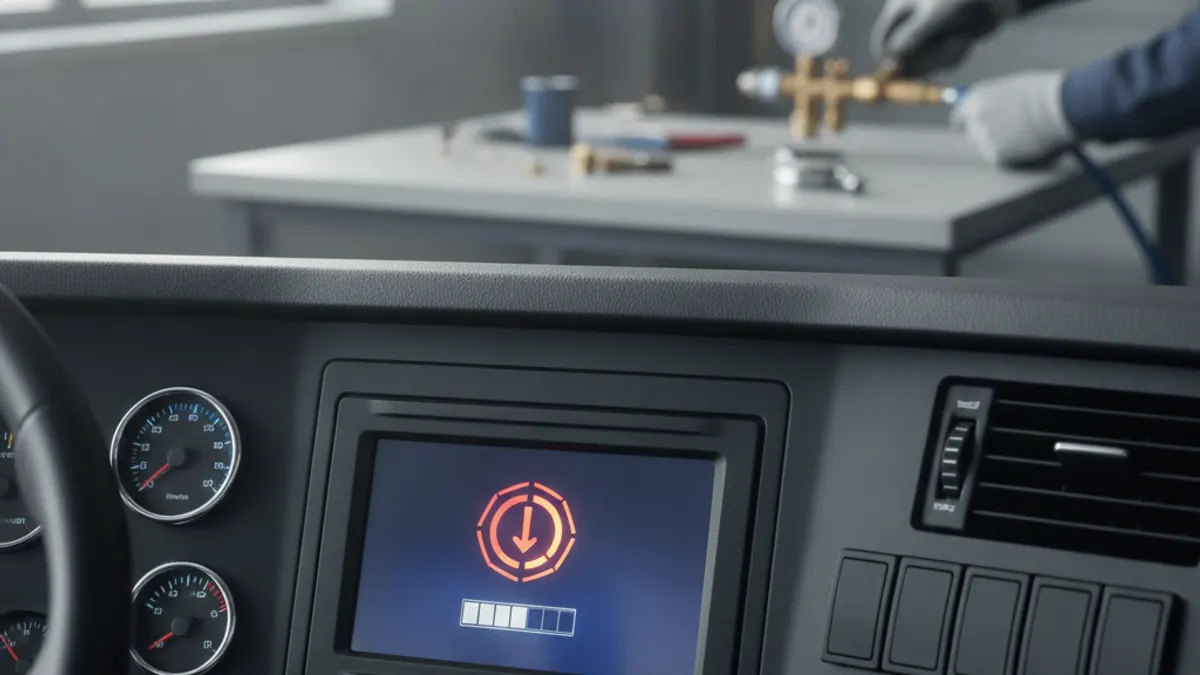
Every commercial vehicle with air brakes must have a low air pressure warning device that signals the driver before system pressure drops below 60 psi. On modern trucks that means a red dash lamp plus a buzzer; some older units use a mechanical wig-wag arm that falls into the driver's line of sight. In addition, a dual air brake system must show pressure for each service circuit — two gauges, or one gauge with two needles.
These are not convenience features. An air brake system is pneumatic: stopping power comes from stored compressed air, not from hydraulic fluid, so pressure loss is a direct loss of braking. Between a fully charged system around 120 psi and the point where the spring brakes apply themselves (roughly 20-45 psi), the warning devices are the only thing telling the driver the system is bleeding down. Ignore them and the truck parks itself, possibly in a travel lane.
What counts as a required warning device
Between the federal motor carrier equipment rules and FMVSS 121, four items on a typical tractor-trailer serve as brake warnings, and a driver should be able to point to and test each one:
- Low air pressure warning signal — visual, audible, or both, within the driver's normal field of view or hearing.
- Air pressure gauge(s) — a readout for each service brake reservoir circuit.
- Wig-wag — an accepted mechanical form of the low-pressure warning, still legal where fitted.
- ABS malfunction lamps — a yellow in-cab lamp for the power unit, an external yellow lamp on the trailer, and on later tractors an in-cab trailer ABS lamp.
| Device | Type | Activates | What it means |
|---|---|---|---|
| Low air warning lamp | Visual (red dash light) | Before pressure drops below 60 psi | Service reservoir pressure is unsafe; stop while you still have brakes |
| Warning buzzer or alarm | Audible | Same trip point as the lamp | Backup for the lamp so the driver cannot miss it |
| Wig-wag | Mechanical arm | Drops into view at the low-pressure trip point | Cannot be held up again until pressure recovers above the trip point |
| Primary and secondary gauges | Continuous readout | Always live | Shows each circuit separately, so you can see which one is losing air |
| Application gauge | Continuous readout | When the pedal is applied | Delivery pressure to the brakes; useful for spotting restriction or lag |
| ABS malfunction lamp | Visual (yellow) | Key-on self-test and on fault | Anti-lock function degraded; base air brakes still work |
The low air pressure warning light and buzzer
The warning is driven by a pressure switch plumbed into the service reservoirs. While pressure stays above the trip point the switch holds the circuit open; when pressure falls, the switch closes, lighting the lamp and sounding the buzzer. Trip points vary by manufacturer — many switches are set somewhere in the 60-75 psi band — but the requirement is that the warning appears before pressure falls below 60 psi. Very old vehicles, built before the mid-1970s, may instead use a trip point at one-half of governor cut-out.
On a dual system there is normally a switch on each circuit, so one lamp can be triggered by either the primary or the secondary side going low. That is why the gauges matter: the lamp tells you something is wrong, the gauges tell you which half. For the normal operating band those gauges should sit in, see air brake system fully charged psi.
A warning lamp that stays on after the system is charged is not "a bad bulb." Treat it as a genuine low-pressure or switch fault until proven otherwise — see low air warning won't turn off.
The wig-wag
The wig-wag is the oldest form of the warning and still turns up on older tractors and vocational equipment. It is a hinged arm or flag mounted at the top of the windshield opening, held up by air pressure. When pressure falls below the trip point, the arm drops into the driver's field of vision. Automatic types cannot be pushed out of the way — the arm will not stay up until pressure climbs back above the trip point, which is exactly the point of the design.
A wig-wag that has been tied, taped or wired up is a defect. So is one that hangs down permanently because its diaphragm or air line has failed.
Pressures a driver should have memorized
| Condition | Typical range | Notes |
|---|---|---|
| Governor cut-out | ~120-135 psi | Compressor unloads; system stops building |
| Governor cut-in | ~100-110 psi | Compressor resumes pumping |
| Normal fully charged | ~120 psi | Both needles should read close to each other |
| Low air warning | Before 60 psi | Lamp, buzzer and/or wig-wag activate |
| Spring brake application | ~20-45 psi | Parking and emergency brakes apply automatically |
These are ranges, not fixed numbers — settings differ by manufacturer and by vehicle. Always work to the values in the current OE service literature for the unit in front of you.
Why the compressor and governor matter here
A warning device that keeps coming on during normal running is usually reporting a real supply problem, not a wiring fault. The usual suspects are a compressor that no longer builds pressure at the rated rate, a governor cutting out early or cycling, an unloader leaking down, or a leak large enough that the compressor cannot keep ahead of demand. Chasing the lamp instead of the supply side wastes shop time.
How to test the warning devices
The check is part of every pre-trip inspection and of the CDL air brake test. Chock the wheels first, then:
- Run the engine and build the system to governor cut-out, then shut the engine down and turn the key to the accessory position so the warning circuit stays live.
- Release the parking brakes and note the gauge reading. Watch static pressure loss for one minute, then hold the service pedal down and watch again — commonly cited limits are roughly 2-3 psi per minute static and 3-4 psi per minute applied, the higher figure being for a combination vehicle.
- Fan the pedal to bleed pressure down. The lamp, buzzer or wig-wag must come on before the gauges read 60 psi.
- Keep fanning. The parking brake knobs should pop out on their own, typically between 20 and 45 psi.
- Restart, build pressure back up, and confirm the warning goes out and the knobs will set and stay in.
Any step that fails is a defect to write up. The full sequence is covered in the seven-step air brake check.
Common warning-device faults
- Lamp on, gauges normal: failed or corroded pressure switch, chafed wiring, poor ground.
- No lamp during the fan-down test: burned bulb or failed LED module, open circuit, or a switch stuck open — in this state the vehicle has no warning at all.
- Buzzer silent, lamp works: buzzer element failed or its feed is open; the lamp alone may still meet the rule, but repair it.
- Wig-wag hanging down or secured up: lost air signal, or a deliberate defeat; both are violations.
- Gauge needles disagree by a wide margin: one circuit is leaking, or a gauge has failed — do not assume the gauge is the liar.
An inoperative low air pressure warning device is one of the items inspectors look for specifically, and it is commonly treated as an out-of-service condition. It is a cheap repair, and it is the single warning standing between a slow leak and an unplanned spring brake application.
Because the pressure switch usually threads into a reservoir or into the block carrying the governor and dryer, a switch that fails twice points upstream: service or replace the air treatment unit feeding it.

Need the part, not just the answer?
OE-grade air brake compressors and repair kits, manufactured and tested to commercial-vehicle standards.
Shop VADEN partsPublished by VADEN Original. Product links point to the manufacturer’s official catalogue. Specifications are general — always confirm figures against your vehicle’s service manual.