 airbrakecompressor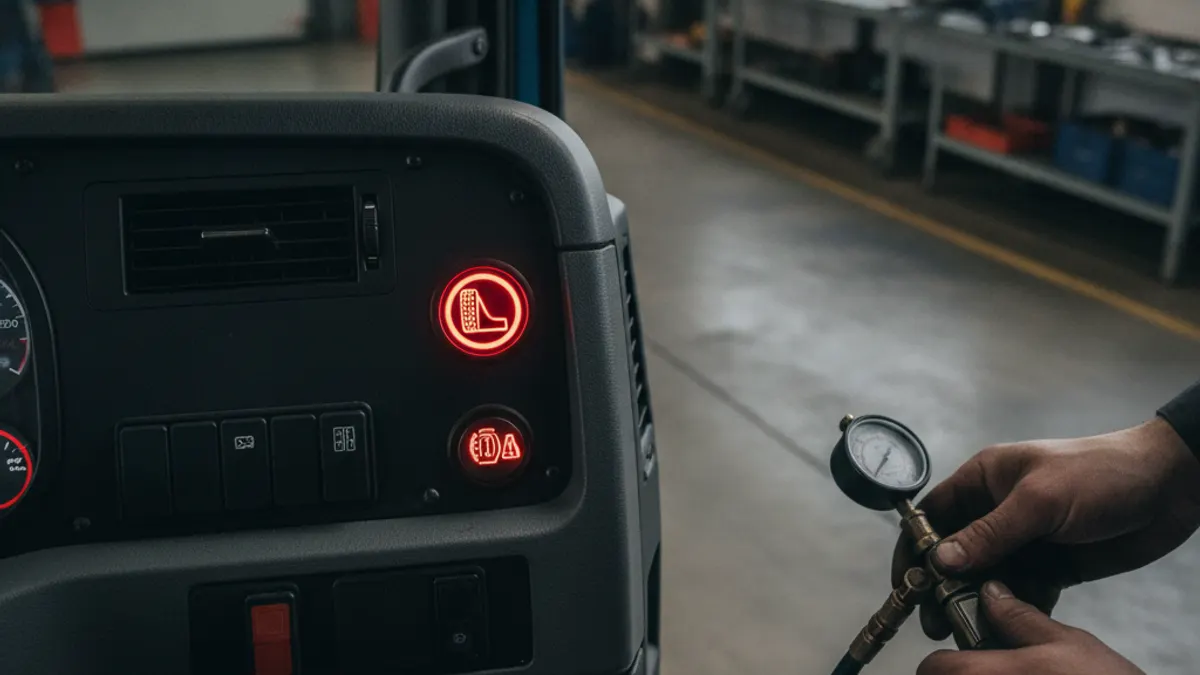
If your low-air warning light and buzzer will not go off, the system is telling you one of two things: pressure in the warning circuit really is below roughly 60 psi, or the switch and wiring that report pressure have failed. Read the dash gauges first. If both needles show a fully charged system near 120 psi and the warning is still on, you are chasing an electrical or switch fault. If a gauge reads low or the two needles disagree, you have a genuine pressure problem — a leak, a weak compressor, or a stuck governor — and the truck should not move until it is fixed.
What the low-air warning actually monitors
The warning device has to come on before pressure falls below about 60 psi on most air brake vehicles. It is driven by a simple pressure switch — or a pair of them, one per circuit on a dual system — threaded into a reservoir, a valve body, or a port on the dash valve assembly. The switch is closed at low pressure and opens as pressure rises past its set point, which is why almost every "stuck on" complaint traces back to either real low pressure or a switch that never opens.
On a dual air brake system there are two independent circuits, primary and secondary, and typically two warning switches feeding one lamp and buzzer. That matters for diagnosis: a healthy primary circuit at 125 psi will not silence the warning if the secondary circuit is sitting at 45 psi. One low circuit lights the same lamp as two.
First check: what do the gauges say?
Build the system, let the compressor run to governor cut-out, and watch both needles.
| Gauge reading | What it points to | Next step |
|---|---|---|
| Both circuits fully charged (around 120 psi), warning still on | Pressure switch, wiring, or lamp circuit fault | Test or swap the switch; check ground and connector |
| One circuit charged, one low | Leak or restriction in the low circuit; failed check valve or protection valve | Isolate that circuit and leak-test |
| Both circuits climb slowly and stall below cut-out | Compressor output down, or a leak larger than the compressor can make up | Time the build-up and compare against spec |
| Pressure builds fine, then bleeds down after shutdown | Leak downstream — fittings, chambers, valves, dryer purge | Soap-test with the system charged |
| Needles disagree with a known-good test gauge | Dash gauge inaccurate | Verify at the reservoir service port |
Do not trust the dash gauges alone on an intermittent complaint. A calibrated test gauge in the reservoir service port is the only way to know whether a warning at "120 psi indicated" is a lying gauge or a lying switch.
Cause 1: real pressure below the warning threshold
The most common reason the warning stays on is the least exciting one — the system genuinely has not reached the point where the switch opens. Look for:
- A small leak the compressor can just barely outrun. Pressure creeps up, hovers in the 60 to 90 psi band, and the light flickers or stays lit. Charge the system, shut down, and watch the leak-down rate on both circuits, as described in air brake system losing pressure.
- A governor that never lets the compressor load. A governor stuck in the unloaded position keeps the compressor running free, so pressure never builds. Check the governor and the unloader signal line before condemning the compressor.
- A restricted or frozen line. In cold weather, moisture in a line or in the dryer purge valve can ice up and choke flow to one reservoir. That reservoir stays low, the switch stays closed, the warning stays on.
- A stuck-open drain valve or a leaking pressure protection valve bleeding one reservoir faster than it fills.
- A worn compressor. If build-up time is far longer than it used to be and there is no findable leak, output is down.
Confirm a leak the old way: charge the system, shut the engine off, chock the wheels, and listen. Then soap the fittings, gladhands, chamber ports, and valve exhausts. A hiss at a chamber that grows when the pedal is applied points at a diaphragm; a hiss at a valve exhaust port points at that valve's seals.
Cause 2: the pressure switch itself
Warning switches fail closed far more often than they fail open, and a switch that fails closed leaves the lamp and buzzer on permanently. Corrosion in the two-pin connector does the same thing. Quick tests:
- Charge the system fully and verify pressure with a test gauge.
- Unplug the connector at the warning switch. On most circuits the lamp and buzzer will go out, which isolates the fault to the switch.
- If the warning stays on with the switch unplugged, the problem is downstream in the wiring: a chafed wire touching ground, a shorted connector, or a failed dash module.
- On a dual system, unplug one switch at a time. If the warning only clears when both are disconnected, you have two faults or one shared wiring problem.
- Check continuity across the switch terminals with the system charged. Continuity at full pressure means the switch is not opening — replace it.
Never disable the warning device to silence a buzzer. An inoperative low-air warning is an out-of-service item on inspection, and it removes the one signal that tells you the spring brakes are about to apply on their own.
Cause 3: wiring, grounds, and the dash
If the switch checks out, work the circuit. Common culprits are a chafed feed wire rubbing a frame rail or an air line clamp, a corroded ground stud behind the dash, moisture in a bulkhead connector, or an accessory spliced into the warning circuit. Wiggle-test the harness with the key on while watching the lamp. A warning that flickers with road vibration is almost always mechanical damage to the wire, not a pneumatic fault.
Some newer trucks drive the warning through a body controller rather than a hardwired lamp. There, a stored fault code usually names the circuit, and the pressure reading in the diagnostic software can be compared straight against a test gauge.
Reference pressures to check against
| Point | Typical range | Meaning |
|---|---|---|
| Governor cut-out | about 120–135 psi | Compressor unloads; system fully charged |
| Governor cut-in | about 100–110 psi | Compressor loads again |
| Fully charged operating pressure | around 120 psi | Normal running range |
| Low-air warning activation | about 60 psi | Lamp and buzzer must come on at or before this point |
| Spring brake automatic application | roughly 20–45 psi | Parking and emergency brakes apply on their own |
These are typical industry ranges for pneumatic air brake systems, not a substitute for your chassis specification. Always confirm the exact set points in the vehicle manufacturer's current service literature.
Is it safe to drive?
No, not until you know which fault you have. If pressure is genuinely low, the gap between the warning point and spring brake application is small — the parking brakes can set themselves while the vehicle is moving. If the warning is a false alarm from a failed switch, you have lost your only advance notice of a real pressure loss. Either way it is a repair-before-dispatch item.
Diagnostic order that saves time
- Read both gauges at full charge and verify with a test gauge at the reservoir.
- If pressure is low, find the leak or the build-up fault before touching any wiring.
- If pressure is correct, unplug the warning switch: lamp out means switch, lamp still on means wiring.
- Replace the failed switch, then recheck the warning function by draining the reservoir slowly and confirming the lamp and buzzer come on around 60 psi.
- Drain the tanks, check for water and oil, and fix the moisture source if you find any.
That last step matters more than it looks. Water carried over from a saturated air dryer corrodes switch contacts and freezes lines in winter, and oil carried over from a worn compressor gums up valve seats. If you are replacing warning switches more than once, the real problem is upstream in the air supply.
Because the water and oil killing those switches arrive from upstream, the durable fix is at the drying and governing stage: an air processing unit that purges properly keeps the contacts dry through winter.

Need the part, not just the answer?
OE-grade air brake compressors and repair kits, manufactured and tested to commercial-vehicle standards.
Shop VADEN partsPublished by VADEN Original. Product links point to the manufacturer’s official catalogue. Specifications are general — always confirm figures against your vehicle’s service manual.