 airbrakecompressor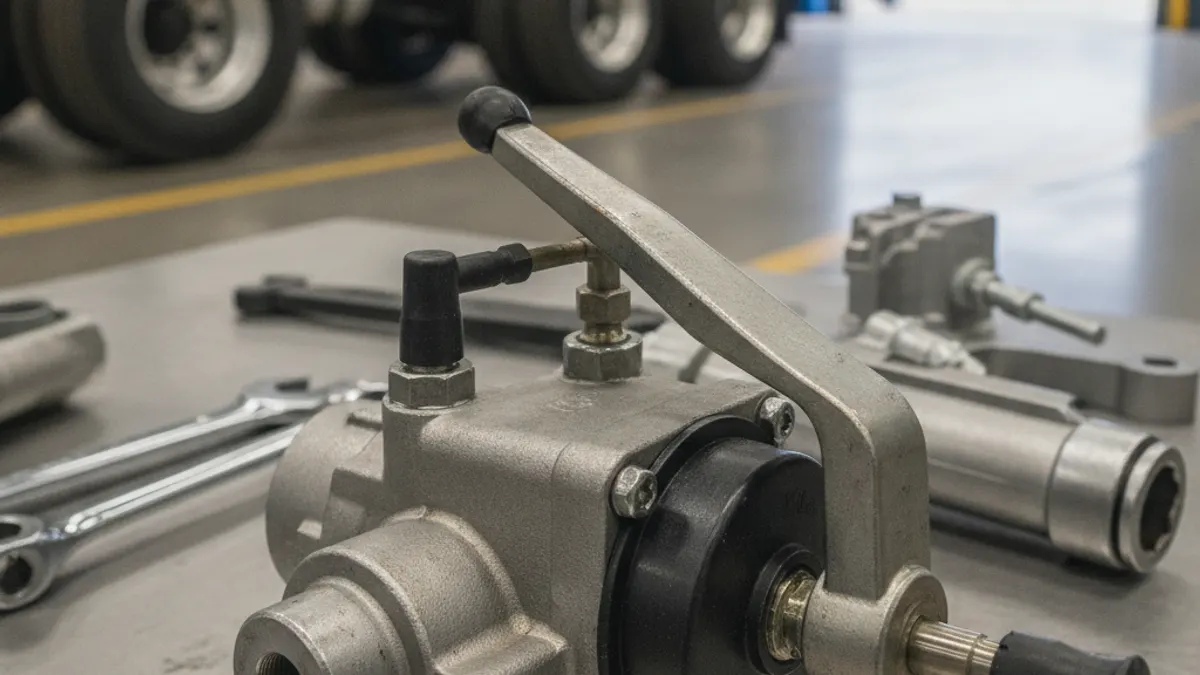
An air suspension leveling valve — also called a height control valve or ride height valve — keeps the chassis at a constant height above the axle no matter how much load is on the vehicle. It is mounted to the frame or a crossmember and reads suspension travel through a short link rod connected to the axle housing. When the frame drops, the valve ports supply air into the air springs; when the frame rises too far, it exhausts air to atmosphere. Between those two actions sits a neutral hold band where the valve does nothing, which is what stops the suspension from continuously pumping and dumping air.
It is a pneumatic control device, not a hydraulic one, and it runs off the same compressed-air system that feeds the brakes. That is why a leaking leveling valve is an air system problem, not just a ride-quality complaint.
What the leveling valve actually does
A conventional mechanical leveling valve is a three-position rotary or spool valve with three ports: supply, delivery (to the air springs), and exhaust. The valve arm, clamped to the shaft, is pulled up or down by the link rod as the axle moves relative to the frame.
| Valve position | Triggered when | What happens |
|---|---|---|
| Fill | Frame sits below target height (load added, air lost) | Supply port opens to the air springs; they inflate until the arm returns to neutral |
| Hold (neutral) | Height is within the dead band | Supply and exhaust both closed; air trapped in the springs |
| Exhaust | Frame sits above target height (load removed) | Delivery port vents to atmosphere until the arm returns to neutral |
Most valves include a deliberate delay of a few seconds so that potholes, crowned driveways, and body roll do not make the valve chatter and waste air. That delay is normal; a valve that reacts to every bump, or never reacts at all, has a fault.
On a tandem drive or trailer bogie you may find one valve feeding both sides through a crossover line, or two valves, one per side. Electronically controlled suspensions (ECAS/ELC) swap the mechanical valve for height sensors and a solenoid block driven by an ECU, but the logic is identical: fill, hold, exhaust.
How it ties into the air brake system
The leveling valve is not plumbed straight into a brake reservoir. Air travels from the compressor through the governor and the air dryer into the supply (wet) tank, then out to auxiliary circuits — suspension, seat, horn, accessories — through a pressure protection valve. That protection valve is a one-way gate that closes below a set threshold, commonly in the region of 70 psi depending on the build, so that if a suspension line bursts the primary and secondary brake circuits stay protected and the vehicle still stops. Check the chassis specification for the actual setting.
Two practical consequences follow. First, if the auxiliary circuit is starved, the suspension will not lift until system pressure is restored — a vehicle that settles overnight and refuses to rise until the governor reaches cut-out is behaving normally. On a typical heavy truck the governor cuts out somewhere around 120 to 135 psi and cuts back in around 100 to 110 psi, with a fully charged system sitting near 120 psi.
Second, any leak past the leveling valve is a leak on the vehicle air system. It will make the compressor cycle more often, and a large enough leak can pull pressure down toward the low-air warning threshold of roughly 60 psi. If you are chasing air loss with the engine off, the leveling valve exhaust port belongs on the checklist alongside the gladhands and brake chambers.
The air springs themselves see a wide pressure range — a few psi when empty, climbing toward system pressure at full legal load. That is why a valve that meters slowly, or a partly blocked delivery line, shows up as a sag under load but looks fine on an empty chassis.
Symptoms of a stuck, worn, or misadjusted valve
| Symptom | Likely cause | Check first |
|---|---|---|
| Rides too high, axle stops or limiting straps loaded, one wheel light | Valve stuck in fill, or link rod bent or adjusted long | Move the arm to exhaust by hand — if air vents, the valve works and the linkage is wrong |
| Rides too low, frame contacts bump stops, harsh ride | Valve stuck in exhaust, plugged supply line, low auxiliary pressure | Supply pressure at the valve inlet; try the fill position by hand |
| Constant hiss at the valve, compressor cycles often | Internal seal leaking past the exhaust port | Soap the exhaust with the suspension inflated and the vehicle static |
| Slow to level, hunts up and down | Worn shaft bushing, sloppy rod ends, failed delay function | Play in the arm and rod ends with the suspension static |
| Leans to one side | Failed air spring, kinked line, or one of two valves out of adjustment | Compare measured height left versus right |
| Works warm, sticks in freezing weather | Moisture carried past a saturated air dryer, freezing in the valve | Drain the tanks; service the dryer cartridge |
Do not confuse a valve fault with a failed air spring. A ruptured bag makes the valve fill continuously — the valve is doing its job into a hole. Isolate by inflating the suspension and listening at the bag, not only at the valve.
Ride height adjustment basics
Ride height is a specification, not a preference. It is normally measured as a defined distance between the frame rail (or a marked pad) and the axle housing or a bracket, and the tolerance is tight — often within roughly a quarter inch, about 6 mm. Always use the manufacturer's measuring point and figure.
- Park on a level floor, unloaded, transmission in neutral, wheels chocked, parking brake applied.
- Run the system up to full charge, around 120 psi, so the auxiliary circuit is pressurised.
- Inspect first: air spring condition, link rod and bushings, shock absorbers, mounting hardware. Replace worn parts before adjusting anything.
- Measure the actual height at the specified point, both sides.
- Loosen the linkage clamp or rod adjuster, rotate the valve arm to fill or exhaust as needed, then return it to the neutral band and re-clamp.
- Wait for the valve delay to expire and the suspension to settle, then re-measure. Repeat until the reading is inside tolerance.
- Cycle the suspension by dumping and refilling, confirm the height holds, and torque the hardware.
Changing ride height changes more than ride quality: driveline angles, fifth-wheel and coupling height, air line and ABS harness routing, and the calibration of a load-sensing brake valve where one is fitted. If you move ride height, re-verify those.
Many chassis also carry a manual dump valve so the driver can exhaust the suspension for docking or coupling. If the suspension will not re-inflate after a dump, suspect the dump valve or its control line before condemning the leveling valve.
Replacement and parts selection
Some designs are rebuildable, others sealed, but once the shaft bushing is worn or the seals leak, replacement is the reliable fix. Match the port sizes and thread type, the arm and shaft geometry, the rotation direction, and the delay characteristic — a valve that looks identical but has a different dead band will not hold the same height. OE-grade units for common truck, bus, and trailer suspensions are listed in the VADEN levelling valve product category with cross-reference numbers for the usual OE applications.
After fitting, blow out the supply and delivery lines, use fresh sealant sparingly and on tapered threads only, leak-check every joint with soap, and set ride height as above. Then keep the air clean: a saturated dryer and undrained tanks will kill a new leveling valve as fast as they killed the old one.

Need the part, not just the answer?
OE-grade air brake compressors and repair kits, manufactured and tested to commercial-vehicle standards.
Shop VADEN partsPublished by VADEN Original. Product links point to the manufacturer’s official catalogue. Specifications are general — always confirm figures against your vehicle’s service manual.