 airbrakecompressor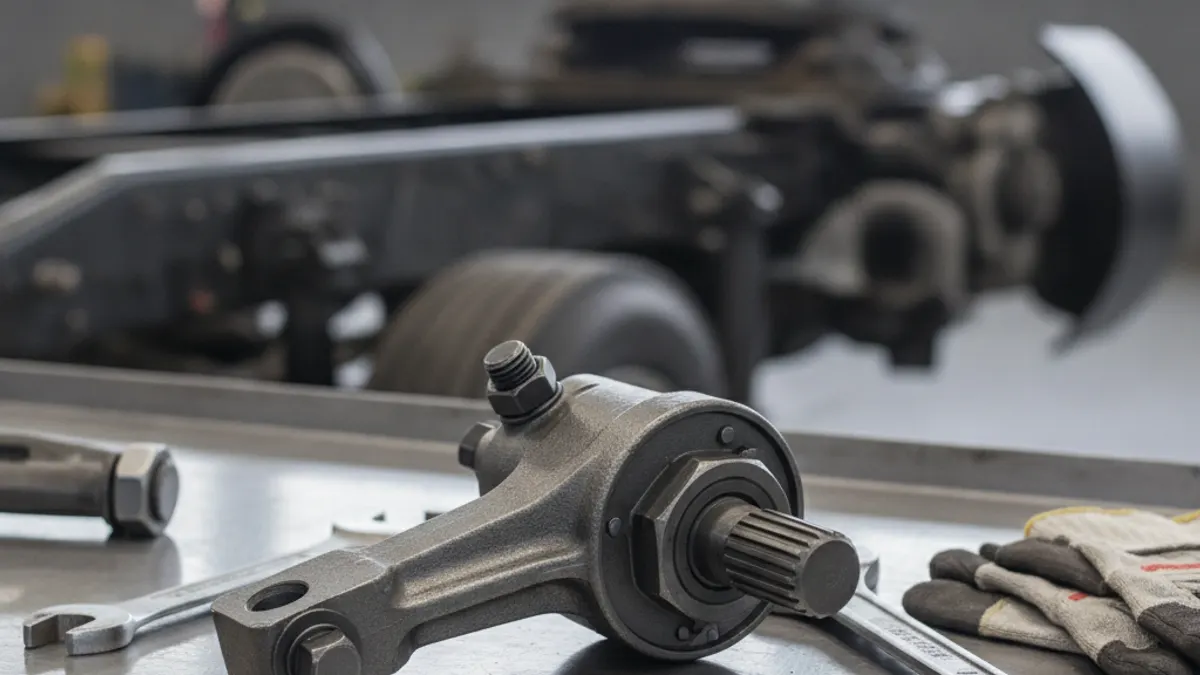
A manual slack adjuster is a lever a technician has to re-set with a wrench as the linings wear. An automatic slack adjuster does the same job but carries an internal clutch and gear train that takes up the extra clearance on its own during normal braking. Both parts perform the identical primary function in an air (pneumatic) brake system — converting the brake chamber push rod's straight-line push into rotation of the S-cam — and both bolt onto the same splined camshaft. The difference is entirely in who maintains the running clearance between lining and drum: you, or the part.
For anyone working on North American equipment the practical answer is short: automatics won. Air-braked vehicles built for the U.S. market on or after October 20, 1994 were required by FMVSS 121 to have automatic brake adjustment, and FMCSA rules carry that forward into in-service inspection. Manual units survive on pre-1994 iron, on off-highway and specialty machines, and in some export markets — but if you are buying a slack adjuster for a modern highway tractor or trailer, it is an automatic.
How each type maintains clearance
On a manual adjuster the worm shaft is turned by hand. A lock collar or spring-loaded sleeve has to be depressed before the adjusting nut will turn, and once released the collar holds the setting. Nothing about that setting changes as the linings wear — the shoes simply sit farther from the drum, push rod stroke gets longer, and braking response gets lazier until someone puts a wrench on it. On a fleet running manuals, that meant a scheduled adjustment interval measured in weeks.
An automatic adjuster contains a one-way clutch, worm gear and control arm inside the housing. The control arm is anchored to a fixed point — usually a bracket on the axle or on the brake chamber mount — so that as the adjuster body swings through its arc, the arm sees the actual amount of travel. When travel exceeds the designed free stroke, the mechanism indexes the worm a few degrees and brings the shoes back toward the drum. It works in small increments, on ordinary stops.
There are two design philosophies. Clearance-sensing units measure the gap during the release stroke and correct on release. Stroke-sensing units measure how far the push rod travelled during application and correct on the apply. Both are accepted OE designs; the sensing method matters mainly because it changes the correct installation procedure and the amount of free play the manufacturer wants set at install.
Side-by-side comparison
| Characteristic | Manual slack adjuster | Automatic slack adjuster (ASA) |
|---|---|---|
| Clearance control | Set by technician, stays fixed | Self-correcting during braking |
| External parts | Adjusting nut with lock collar or sleeve | Adjusting hex plus control arm and anchor bracket |
| Routine service | Scheduled manual adjustment | Inspect and lubricate only |
| Stroke consistency across an axle | Depends on the technician | More uniform, better balance |
| Out of adjustment means | Overdue for service | A fault somewhere — adjuster, cam, or foundation |
| New-build availability (U.S.) | Not used since 1994 | Standard equipment |
| Typical failure mode | Seized worm, stripped splines, worn clevis | Worn internal clutch, broken control arm, corroded internals |
What you can and cannot substitute
Going from manual to automatic is a legitimate upgrade, provided you fit an adjuster designed for the application: correct spline count and diameter, correct effective arm length, correct offset, and a proper anchor bracket. Skipping the bracket or fabricating a sloppy one defeats the mechanism — the control arm has to see true relative motion or the unit will never index.
Going the other way is where people get in trouble. If the vehicle was manufactured with automatic adjusters because the regulation required them, fitting manual adjusters puts it out of compliance and gives an inspector a straightforward violation. It also removes the consistency that keeps push rod stroke uniform between axles, which is exactly what a roadside brake check looks at.
An automatic slack adjuster that keeps drifting out of adjustment is telling you something. The fault is usually a dry or seized camshaft bushing, a bound-up anchor pin, or an adjuster with a worn internal clutch — not a need for more cranking.
How to identify what is on the axle
Chock the wheels, charge the system, and look at the adjuster body from underneath.
- Control arm present? A short link or gear-driven arm running from the adjuster to a fixed bracket means automatic. No link, no bracket, just a lever and a clevis means manual.
- Lock collar on the adjusting nut? A collar or sleeve you must depress before turning is a manual hallmark.
- Boot or dust cap over the worm? Common on automatics, rare on manuals.
- Cast markings and part number. OE suppliers such as Meritor, Haldex, Bendix, Wabco and Knorr-Bremse cast the type and part number into the body; that number is the fastest route to the right replacement.
When you replace one, replace both sides of the axle with the same brand, type and arm length. Mismatched adjusters across an axle produce uneven timing and drag, and are a common reason a truck pulls under braking.
Inspection: what actually gets measured
Regardless of type, roadside and shop checks look at applied push rod stroke, not at the adjuster itself. Start from a fully charged system — that means the governor has cut out, typically somewhere around 120 psi (cut-out is generally in the 120–135 psi band, cut-in around 100–110 psi) and the low-air warning, which comes on near 60 psi, is off. Measure the exposed push rod with the brakes released, make a full application, measure again, and compare the difference against the readjustment limit for that chamber size and stroke class. A standard-stroke Type 30 chamber is commonly limited to about 2 inches, with the long-stroke version allowed roughly 2.5 inches — confirm against the published limits chart for the exact chamber stamped on your unit. When 20 percent or more of the brakes on a vehicle are defective, it goes out of service.
For manuals, the correction is the standard procedure covered in our slack adjuster adjustment walkthrough: bring the shoes into light contact with the drum, back off enough for free rotation, then verify stroke. For automatics, adjust only to reset the unit after a foundation brake job or after replacing the adjuster — then find out why it drifted.
Maintenance either way
Automatic does not mean maintenance-free. Grease the adjuster at its fitting on the service interval, grease the camshaft bushings, and check that the cam turns freely with the brakes released. Inspect the clevis pins and anchor bracket for elongation and the control arm for cracks. Corrosion inside an ASA housing after several winters of salt is a common failure, and an adjuster that no longer indexes looks completely normal until you measure stroke. When ordering replacements, matching the specification of the original assembly matters more than price — VADEN Original's heavy-duty brake system component range is built to OE dimensional standards for that reason.

Need the part, not just the answer?
OE-grade air brake compressors and repair kits, manufactured and tested to commercial-vehicle standards.
Shop VADEN partsPublished by VADEN Original. Product links point to the manufacturer’s official catalogue. Specifications are general — always confirm figures against your vehicle’s service manual.