 airbrakecompressor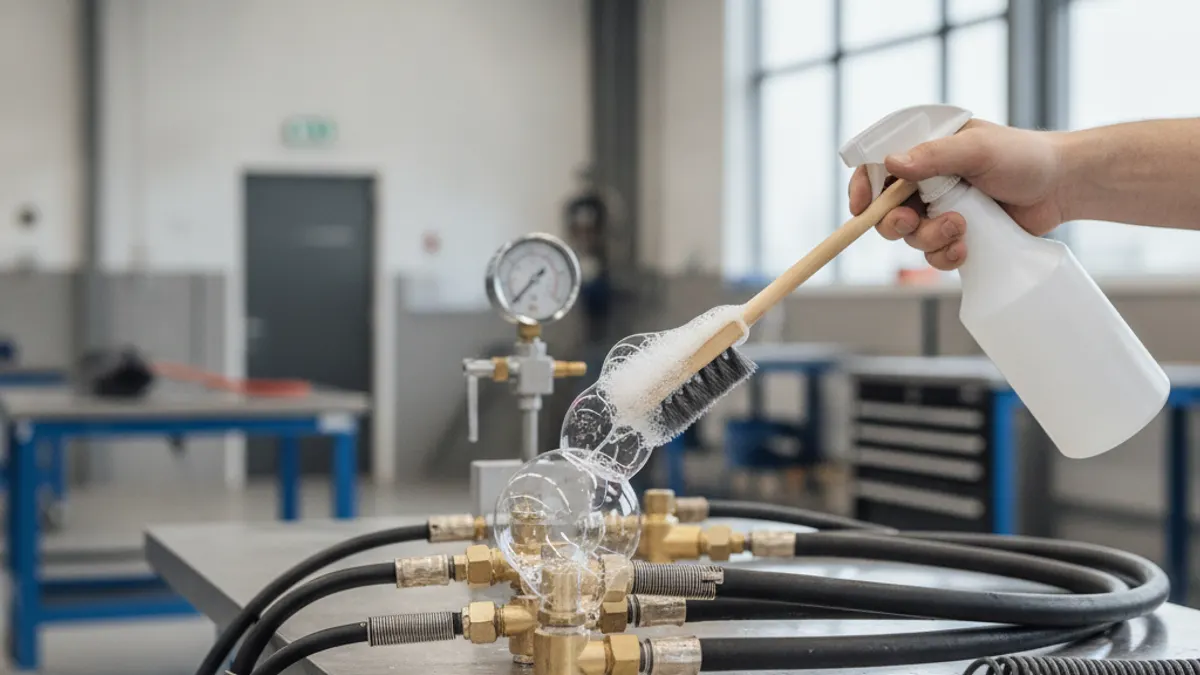
The fastest way to find an air brake leak is to stop guessing and start measuring. Charge the system until the governor cuts the compressor out (typically somewhere in the 120–135 psi band, with a fully charged system sitting around 120 psi), shut the engine off, and watch the dash gauges for one full minute with the brakes released. Then repeat the minute with the service pedal fully applied. The needle that falls faster tells you which circuit is leaking. From there you split the vehicle at the gladhands and confirm the exact joint with soapy water. That whole sequence takes about ten minutes and beats an hour of crawling under the truck with a flashlight.
Before you start: park it safely
Chock the wheels. You are about to bleed a pneumatic system down while the parking brakes are released, and a vehicle that loses air in that state can roll. Work on level ground, keep the engine off during the actual measurement (a running compressor keeps refilling the system and hides the leak), and stay clear of slack adjusters and pushrods when someone applies the brakes.
Step 1: Run the static leak test
Build to full pressure and let the governor cut out. Shut the engine off, release the parking brakes so the system sits in its normal charged, released state, and keep off the pedal. Watch both needles of the dual gauge for one minute.
A static leak points at the supply side: tanks, drain valves, the air dryer and its purge valve, check valves, the compressor discharge line, the governor, dash control valves, and anything that stays pressurized all the time. This is the test that catches the truck which bleeds off overnight and greets the driver with a warning buzzer in the morning.
Step 2: Run the applied leak test
Fully apply and hold the service brake pedal, engine still off, and watch the gauges for another minute. Holding the pedal pressurizes everything downstream of the foot valve: relay valves, quick release valves, the service line to the trailer, hoses and every brake chamber diaphragm. A vehicle that is tight statically but drops fast under application almost always has a leaking chamber, a tired relay valve or a chafed service hose.
Leak-down limits to judge against
These are the leakage rates commonly applied in North American roadside and pre-trip inspection practice. Anything beyond them is a defect, not a nuisance.
| Vehicle configuration | Static (brakes released) | Applied (pedal held) |
|---|---|---|
| Single vehicle (straight truck, bus, bobtail tractor) | 2 psi per minute | 3 psi per minute |
| Combination vehicle (tractor-trailer) | 3 psi per minute | 4 psi per minute |
Check the regulations that apply where you operate; European and other markets publish their own leak-down criteria, but the measurement method is identical. Whatever the limit, note that the low-air warning light and buzzer are set to come on at or below roughly 60 psi, so a leak can be well out of spec long before the dash tells you anything.
Step 3: Split the vehicle in half
This is the single biggest time saver on a combination unit. Close the shut-off cocks at the tractor gladhands, or drop the trailer entirely, and repeat the one-minute test. If the tractor now holds pressure, the leak is on the trailer or in the gladhand seals themselves. If it still drops, the trailer is innocent and you have halved the search area. On a straight truck you can stage the same logic: isolate one circuit at a time, or cap a suspect line, and see which move stops the bleed.
Step 4: Listen, then confirm with suds
Your ears are the search tool; soapy water is the proof.
- Get quiet. Engine off, radio off, doors shut, everyone stops talking. A 2 psi per minute leak is a faint hiss, not an obvious blast.
- Use a hose as a stethoscope. A length of clear tubing about a metre (three feet) long, held to your ear and moved along fittings, chambers and valve bodies, isolates a hiss far better than an open ear in a windy yard.
- Spray the suspects. Water with a squirt of dish soap in a spray bottle raises a growing bubble cluster at the exact joint. Cover fittings, hose crimps, chamber clamp bands, valve exhaust ports and gladhand faces.
- Watch the exhaust ports. A relay valve, foot valve or quick release valve that vents from its exhaust port with the brakes released has a failed internal seal or diaphragm. That is a valve fault, not a fitting fault.
- Test both ways. Some leaks only show under application. If nothing appears with the brakes released, have someone hold the pedal and spray again.
If the leak is too small to hear but the vehicle still bleeds down overnight, spray the whole charged system and walk away. Come back a few minutes later and look for a slow-growing bubble or a dried soap ring at one fitting.
Where air brake leaks actually hide
| Location | Typical cause | Which test shows it |
|---|---|---|
| Gladhand seals | Cracked, flattened or missing rubber seal | Static and applied (service line) |
| Brake chamber | Torn diaphragm, corroded clamp band, cracked port fitting | Applied on the service side; spring side shows static |
| Air dryer | Purge valve stuck open, worn seat, saturated cartridge | Static, often a constant hiss at the purge |
| Tank drain valves | Debris or ice on the seat, corroded body | Static |
| Nylon tubing | Chafing on frame rails, crossmembers or driveline heat | Either, depending on the line |
| Push-pull dash valves | Worn internal O-rings, leaking around the knob | Static, audible in the cab |
| Relay and quick release valves | Failed diaphragm venting at the exhaust port | Applied, mostly |
| Compressor discharge line and governor | Cracked line, leaking unloader signal line, faulty governor | Static, plus the compressor cycles too often |
| Fittings and adapters | Over-torqued, cross-threaded or sealant-starved threads | Either |
Reading the symptom to shortcut the search
- Bleeds down overnight, fine while driving: static-side leak. Start at the drain valves, the air dryer purge and the dash valves.
- Pressure drops only with the pedal held: service side. Chambers, service lines and the foot valve.
- Warning buzzer at idle that clears when you rev: the leak may be modest, but compressor output is marginal too. Look at both.
- Hiss that changes when you set or release the parking brake: spring brake circuit, tractor protection valve or a dash control valve.
- Compressor never stops loading: either a large leak or a governor or unloader fault, since cut-in should occur around 100–110 psi and cut-out by roughly 120–135 psi. See air brake system losing pressure for the wider diagnostic tree.
Fix it properly, then re-test
Replace seals and damaged tubing rather than tightening a fitting until it stops weeping; over-torqued brass cracks and comes back worse. Reroute and clip any line that was chafing, or the replacement fails the same way. Diaphragms, gladhand seals and O-rings are cheap, and an out-of-service order is not. Chamber-specific faults are covered in brake chamber leaking air, and if the hiss is coming from the dryer, read air dryer leaking or purging before you condemn the unit.
When the repair is done, run both one-minute tests again. A system repaired properly holds well inside the limits rather than barely at them. If the vehicle still will not hold pressure and no leak can be found, the problem has moved from leakage to supply, which is a separate investigation into compressor output and governor control.
Leak hunting goes quicker when the seals, diaphragms and fittings you will need are already on the bench, so pull the air brake system parts you expect to use before the second leak-down test.

Need the part, not just the answer?
OE-grade air brake compressors and repair kits, manufactured and tested to commercial-vehicle standards.
Shop VADEN partsPublished by VADEN Original. Product links point to the manufacturer’s official catalogue. Specifications are general — always confirm figures against your vehicle’s service manual.