 airbrakecompressor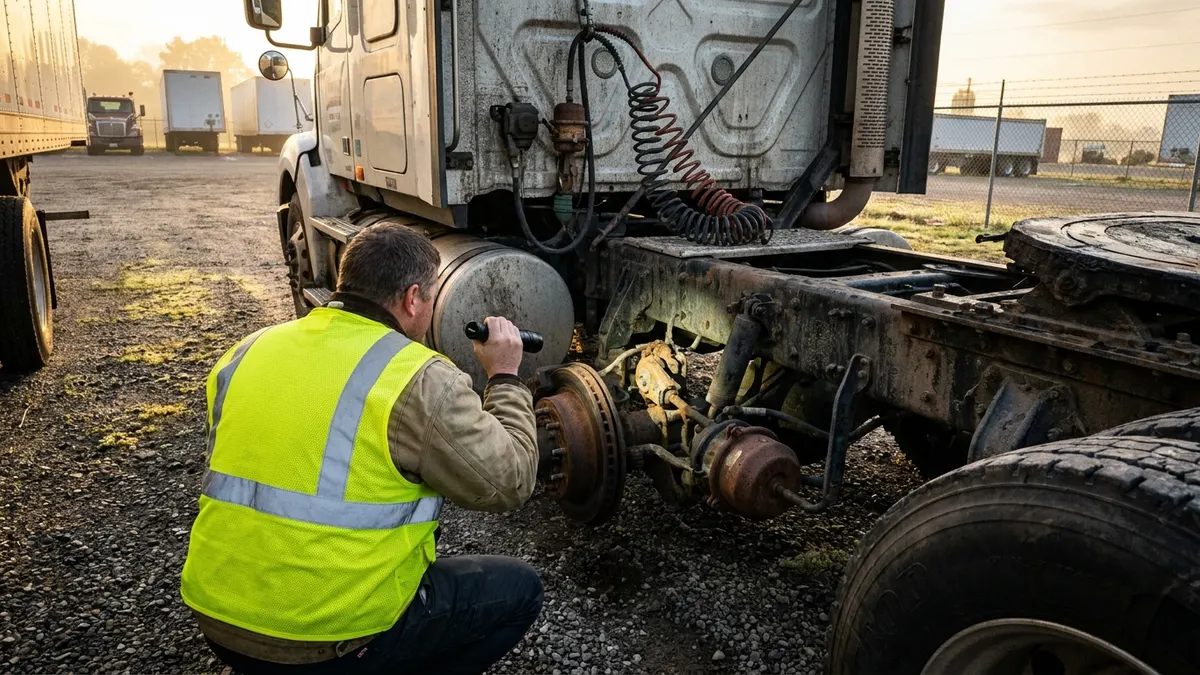
A complete air brake pre-trip inspection has two halves: a walk-around visual check of the compressor, lines, chambers, slack adjusters, and drums, followed by a five-part in-cab air test. That in-cab test measures your governor cut-in and cut-out, static and applied leakage rates, the low-air warning device, the spring brake pop-out point, and how fast the compressor rebuilds pressure. Done in order, it takes about ten minutes and proves the system will hold air and stop the vehicle before you are loaded and moving.
This is the same procedure a CDL examiner scores and a DOT inspector expects you to know. Below is the technician's version: what each step proves, the numbers you are checking against, and the faults each one catches.
Part 1: The visual walk-around
Before you ever climb in the cab, chock the wheels and release the parking brakes only when a step calls for it. Work the air side of the vehicle methodically.
- Compressor and drive: Look for a secure mount, no oil weeping at the head, and a tight, uncracked drive belt or gear cover. An oil-slicked compressor often means it is pumping oil downstream into the tanks and dryer.
- Air lines and fittings: Trace the discharge and delivery lines for chafing, kinks, cracked rubber, or fittings wet with oil. Listen for leaks with the system charged.
- Air dryer: Confirm it is mounted and that the purge valve isn't blowing continuously. A dryer that never purges or purges nonstop points to a governor or unloader fault.
- Reservoirs (tanks): Drain each tank's valve. More than a trickle of water or oil means the dryer is passing moisture or the compressor is passing oil. Water in the tanks is a freeze-up risk in winter.
- Brake chambers and slack adjusters: Check chambers for secure mounting and cracked or leaking diaphragms. Verify pushrod free travel and that slack adjusters are within the legal stroke limit for their chamber size.
- Foundation brakes: Inspect linings/pads for thickness, drums or rotors for cracks and heat checking, and S-cams or caliper hardware for excess play. Look for shoes that aren't fully releasing.
- Gladhands and trailer connections: On a combination, check the service and emergency gladhand seals and that lines are secured and not dragging.
Part 2: The in-cab air brake test
This is the graded portion and the part most drivers rush. Run it as a fixed sequence. Each step below maps to a specific pneumatic component you are proving out, so a failed step tells you exactly where to look.
Step 1 — Governor cut-out, cut-in, and build time
Start the engine and let the system charge. The governor should cut the compressor out at roughly 120-135 psi (fully charged is around 120 psi) and cut it back in at roughly 100-110 psi as you fan the pressure down. To check build time, run the engine at operating rpm; in a healthy dual system, pressure should climb from about 85 to 100 psi within roughly 45 seconds. Slow build points to a worn compressor or a system leak.
Step 2 — Static (leak-down) test
With the system fully charged, engine off, release the brakes and let the pressure settle. Time one minute and watch the gauge. The system should hold air with only a small drop.
Step 3 — Applied (service) leak test
Now apply and hold full pressure on the foot brake (a firm application, held steady) and time another minute. Applying the brakes loads the relay and service circuits, so a slightly higher allowable drop applies here than in the static test.
| Test | Single vehicle | Combination vehicle |
|---|---|---|
| Static leakage (brakes released) | ≤ ~2 psi in 1 minute | ≤ ~3 psi in 1 minute |
| Applied leakage (brakes held) | ≤ ~3 psi in 1 minute | ≤ ~4 psi in 1 minute |
Exceeding these rates means a leak somewhere in the system — a chamber diaphragm, a fitting, a relay valve, or the foot valve. Track it down before the trip; a system that bleeds down parked will bleed faster under road vibration. See air brake system losing pressure for a diagnostic path.
Step 4 — Low-air warning check
With the engine off, fan the brakes (repeated foot applications) to bleed pressure down slowly. The low-air warning — buzzer, light, or wig-wag — must activate before pressure falls to about 60 psi. This is your last-line alarm; if it doesn't sound at the right point, you lose the cue that spring brakes are about to apply on their own.
Step 5 — Spring brake (tractor protection) pop-out
Continue fanning the pressure down. As pressure keeps dropping, the parking/emergency spring brake knob (and the trailer air-supply knob on a combination) should pop out on its own, applying the spring brakes. On most systems this happens somewhere in the 20-45 psi range. This proves the tractor protection valve and spring brakes will set automatically if you lose air on the road, rather than leaving you with no brakes.
What each test actually protects against
The five steps aren't busywork — each catches a distinct failure mode:
- Build time / cut-out: a tired compressor or stuck governor that can't keep the system charged under repeated stops.
- Static test: slow leaks that would drain the tanks overnight or during a rest break.
- Applied test: leaks that only open up when the service circuit is pressurized — the ones that bite mid-stop.
- Low-air warning: your alarm that a charging problem has become a safety problem.
- Spring brake pop-out: confirmation that the fail-safe will stop the truck if the air system quits entirely.
Common pre-trip failures worth knowing
The faults that most often show up during a pre-trip are a slow-building or knocking compressor, a governor that cuts out too high or too low, chamber diaphragms weeping under application, and out-of-adjustment slack adjusters. Any one of these can put you out of service at a roadside inspection. If your low-air warning or spring brake pop-out doesn't behave as described, do not drive the vehicle — those are the two checks standing between a leak and a runaway.
Rule of thumb: if the system can't hold air parked, it won't hold air loaded on a grade. The pre-trip is where you find that out on your terms.
Log the inspection. A dated, honest pre-trip record is both a legal requirement and your defense if a component fails later. When a test points to a worn compressor or governor, replace it with an OE-grade unit rather than a bargain rebuild — the pre-trip only tells you the part is good today, and a marginal component won't survive the first hard week.
Anything the walk-around condemns, whether a leaking chamber, a lazy slack adjuster or a governor cutting out low, has to be replaced before the truck rolls, so keep the common air brake system parts on the shelf.

Need the part, not just the answer?
OE-grade air brake compressors and repair kits, manufactured and tested to commercial-vehicle standards.
Shop VADEN partsPublished by VADEN Original. Product links point to the manufacturer’s official catalogue. Specifications are general — always confirm figures against your vehicle’s service manual.